Zhug – a Yemeni Cilantro Sauce

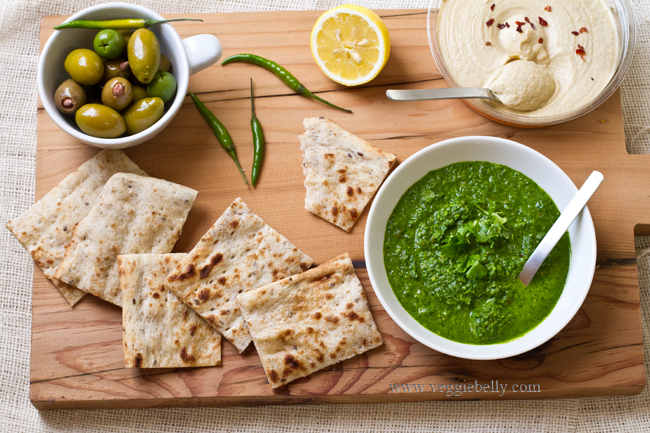
Zhug a Yemenite cilantro hot sauceZhug, also called Skhug, or Zhoug is a spicy hot sauce used in Yemeni cuisine. Yemenite Jews bought zhug to Israel, and it is popular in the country. I had zhug for the first time when I visited Israel and loved everything about it – the color, the simplicity and the freshness. There are two kinds of zhug – red and green. Red zhug is made with red chiles and green zhug is made with green chiles. This recipe is for green zhug.

I use 4 Thai green chiles in this recipe. It makes for a spicy zhug. If you want it milder, use less chiles. Alternatively, slit the chile open and scrape out and discard the seeds, this will get rid of most the heat. Then use the chile in this recipe. Green chilis lemon and cilantro for zhug
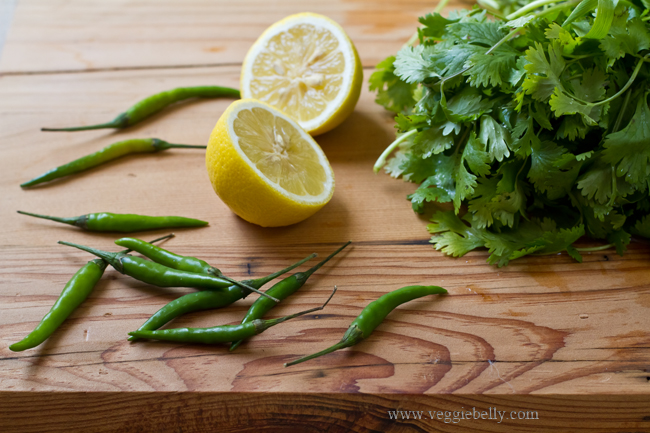
Some zhugs use half cilantro and half parsley. But I like the all cilantro version. I am greedy about cilantro and always buy more than I need. So this is the perfect use of excess cilantro for me!

Zhug is very easy to make. All you have to do is simply blend all the ingredients together! It will keep in the fridge, in a airtight container for about a week. Traditionally zhug is made in a mortar and pestle. I use a food processor and grind the zhug to a coarse paste.

How to use Zhug:
Think of zhug as a pesto or chutney. Here are some delicious ways to use this incredibly versatile condiment.
- Stir it into soups
- Spoon it over eggs
- Serve as a dip with vegetables, and pita bread
- Mix it into cooked rice or quinoa
- Use as a sandwich spread; its great mixed with some hummus and slathered on a sandwich!
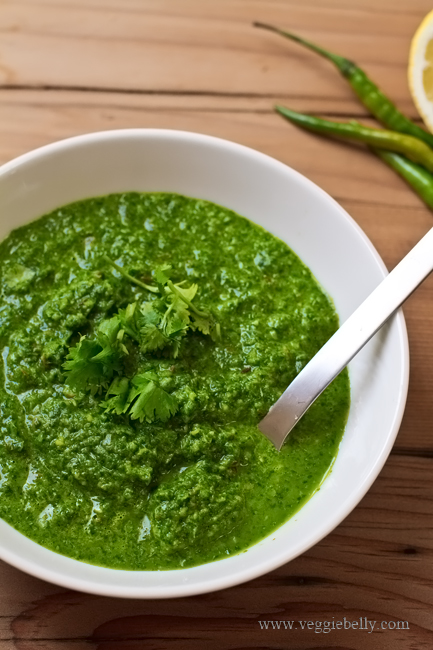
Zhug with cilantro

Zhug Recipe

makes about 2 cups

Ingredients
2 bunches cilantro (leaves and stems), chopped. (About 3 cups when chopped)
4 Thai green chiles, or according to taste*
2 cloves garlic, peeled
1 teaspoon lemon juice
2 tablespoons olive oil
1/2 teaspoon ground cumin
1/4 teaspoon ground coriander
1/4 teaspoon ground cardamom
Salt

*This will make a spicy zhug. Change the quantity of green chiles according to your taste.

Method
1. Place all ingredients, along with 2 tablespoons of water in a food processor. Blend into a coarse paste. Store the zhug in an airtight container in the fridge for up to a week.

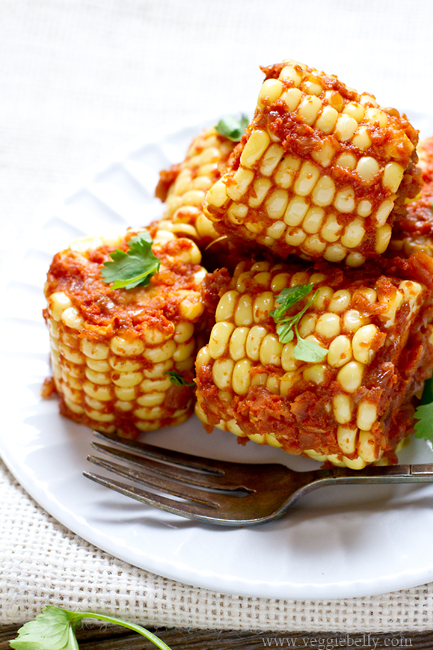
Masala Coated Corn Cobs

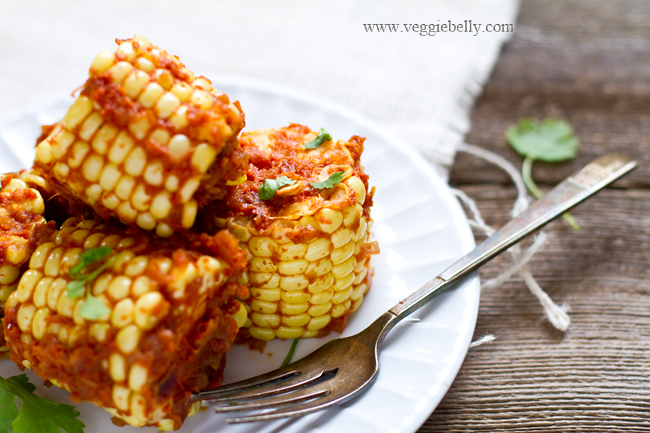
masala coated corn cobs
I look forward to the fresh, sweet corn cobs in the summer. I usually roast them on a grill and slather them with butter and chili powder or with miso butter. But this time, I wanted something different – like a corn cob curry. So I decided to make a masala paste with browned onions, tomato, cumin, coriander and chili powder and then toss the corn cobs in it. This recipe will be a perfect summer accompaniment to an Indian meal.
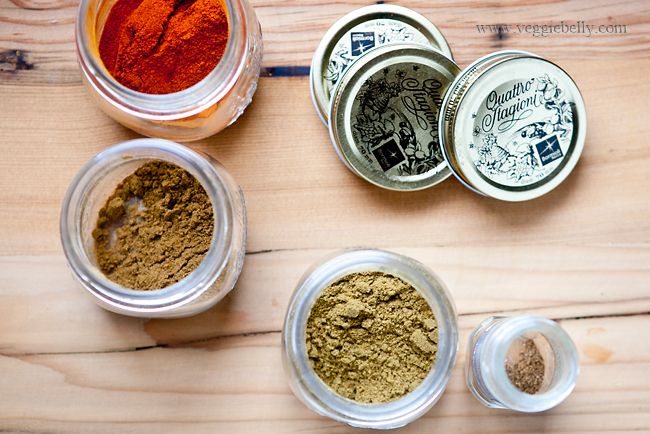
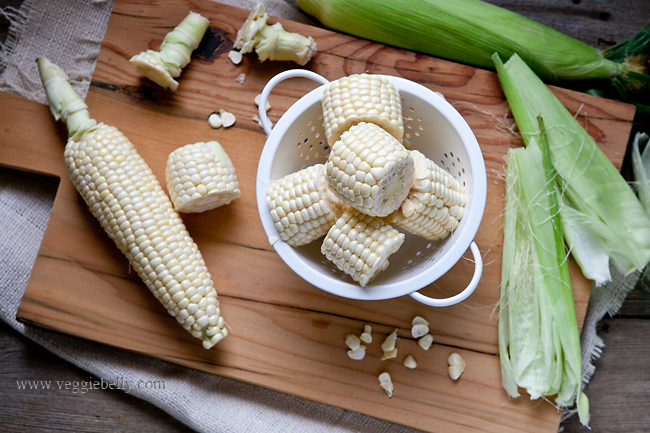
spices for corn cob masalacorn cobs for corn cob masalaUse a sharp knife to cut the corn cobs into chunks, and be very careful that the corn cob doesn’t slip when you are cutting it. I like to cut it into large chunks. But if you prefer smaller corn cob chunks, go ahead and cut it smaller. But however you cut it, this corn cob masala is best eaten with your hands!
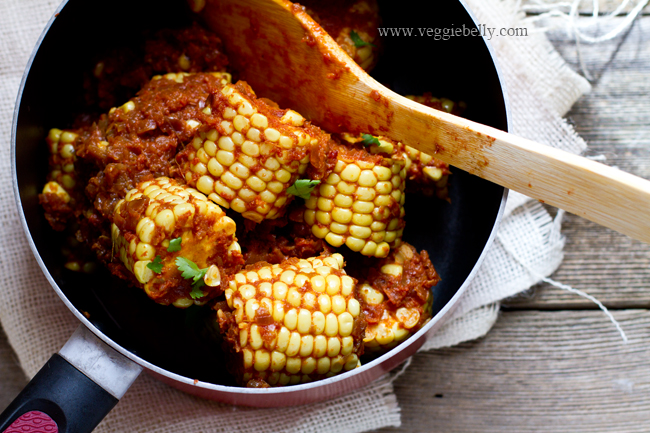
corn cob masala in a potServe this masala corn cob as an accompaniment to an Indian meal.
I suggest rice or roti, dal and raita.
masala coated corn cobs

Masala Coated Corn Cobs

Serves 4-6 as an accompaniment

Ingredients
4 roma tomatoes
4 tablespoons oil
1 small red onion, minced
3/4 tablespoon ginger paste, or grated ginger
3/4 tablespoon garlic paste, or grated garlic
1/4 of a cinnamon stick, optional
1 small bay leaf, optional
1 teaspoon garam masala
2 teaspoons ground coriander
1 teaspoon chili powder or according to taste
3 corn cobs

Method
1. Core the tomatoes and puree them along with 1/2 cup water. Set aside.
2. Heat the oil in a large sauce pan. Add the minced onion and cook on medium heat until golden brown, about 15 minutes. Now add the ginger and garlic pastes, and cook until fragrant, about 2 minutes.
3.Add the cinnamon stick, and bay leaf if using and cook for another minute.
4. Now sprinkle the garam masala, coriander powder and chili powder. Stir for 10 seconds. Pour in the pureed tomatoes and simmer for 5 minutes.
5. Remove the husk and silk from the corn cobs. Trim off the top and bottom ends. Using a sharp knife, carefully cut each corn cob into 3 or 4 chunks.
6. Add the cut corn cobs, salt and 1/2 cup water into the sauce pan. Stir well. Let the corn cobs cook, stirring occasionally, until all the water boils away and the masala paste coats the corn cobs. Fish out the bay leaf and cinnamon stick. Pinch off a corn kernel and test it for doneness. If it isn’t fully cooked, add a little more water and continue cooking until the corn kernel are cooke through.
Serve hot with rice or rotis.

Kimchi Fried Rice

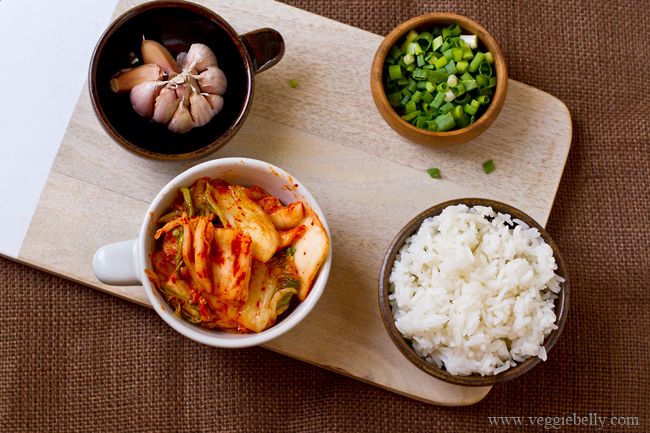
kimchi fried rice with fried eggKimchi or Kimchee is a Korean side dish made by fermenting cabbage, along with Korean chili peppers and spices. It is a spicy, pungent dish that people either love or hate. I am very much in the former category! If you like strong cheeses and such, you will definitely love Kimchi. And this fried rice is a great introduction to kimchi, if you haven’t had it before. This kimchi fried rice recipe is quick and easy to make and uses just six ingredients!
kimchi and jasmine riceKimchi is touted as one of the world’s healthiest foods. It is loaded with vitamin C and probiotic bacteria. Did you know, in Korea people say “Kimchi” instead of “cheese” when posing for photos?!

Kimchi is easily available at Asian markets. Some store bought kimchis have fish (and some don’t). So read the ingredients label before making your purchase. Alternatively, you can make your own kimchi at home.
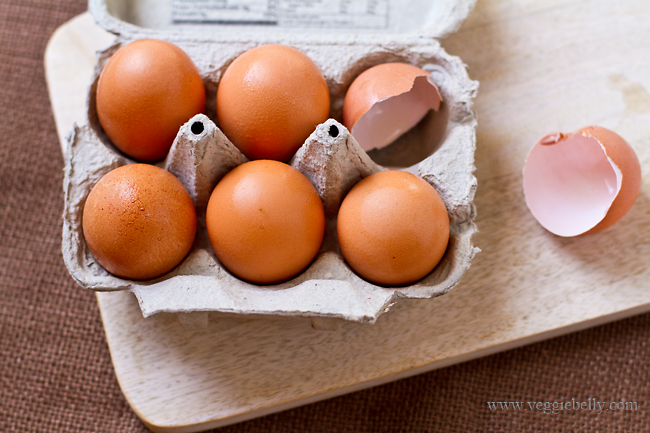
eggs for kimchi fried riceDay old, cooked rice works best for this recipe. That’s because old rice has had a chance to dry out and wont get mushy when you make the fried rice. If you already have left over rice on hand, use 3 cups of that for this recipe. If not, cook 1 cup of jasmine rice (this will yield about 3 cups cooked rice), spread it our in a platter to cool and then refrigerate it over night before using. I like jasmine rice for this kimchi fried rice recipe, but any kind of rice will work. Just make sure its not over cooked.
kimchi fried rice with fried egg

Kimchi Fried Rice Recipe

serves about 2

Ingredients
1 1/2 tablespoon oil
1/2 a yellow onion, sliced thin
1/2 a small green pepper, sliced thin. Optional
A pinch of crushed red pepper or according to taste. Optional
3 cloves garlic, chopped
1 cup thinly sliced cabbage kimchi, available in Asian markets
3 cups cooked, day old jasmine rice*
1 tablespoon soy sauce
2 scallions, chopped. Optional
2 eggs. Substitute with 1/2 cup of cubed, sautéed firm tofu.

*Any kind of rice will work for this recipe; but the amount of water needed and cooking time will vary depending on the kind of rice you use. Just make sure its not over cooked.

To make day old rice – place 1 cup jasmine rice and 1 1/2 cups of water in a small sauce pan. Bring to a boil. Stir well. Reduce the heat to low, cover the pan and let the rice simmer for 10 minutes or until all the water is absorbed and the riced is cooked through. The rice must be fluffy and separate, not mushy. Spread the rice out on a platter or large plate. Let it cook completely. Then cover refrigerate it over night.

Method
1. Heat the oil on high heat in a wok. Add the onion, green pepper if using, crushed pepper if using, and garlic. Sauté until fragrant, about 1 minute.
2. Add the sliced kimchi and cook for 1 minute. Then add the rice and soy sauce. Stir on high heat until everything is well combined and some of the rice is lightly brown. Taste the fried rice for salt. If you’d like it more salty, add more soy sauce and stir. Sprinkle chopped scallions on top.
3. Heat a small skillet with a few drops of oil on medium heat. Carefully break open an egg onto the skillet. Let it cook undisturbed, until the white is set, but the yellow is still a little runny. Carefully slide the egg on top of the rice. Repeat with the other egg.

Blueberry Lime Lassi Popsicles

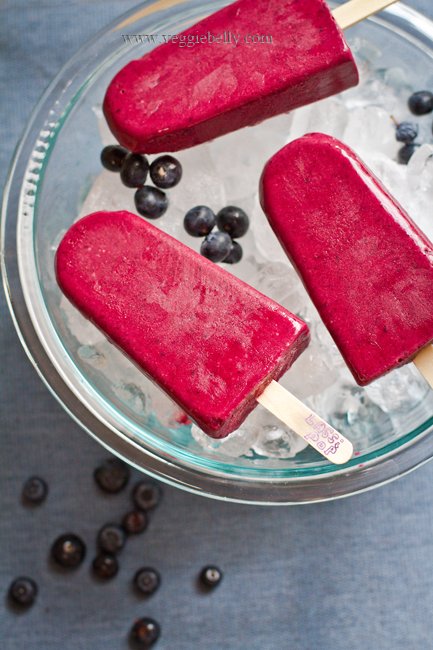
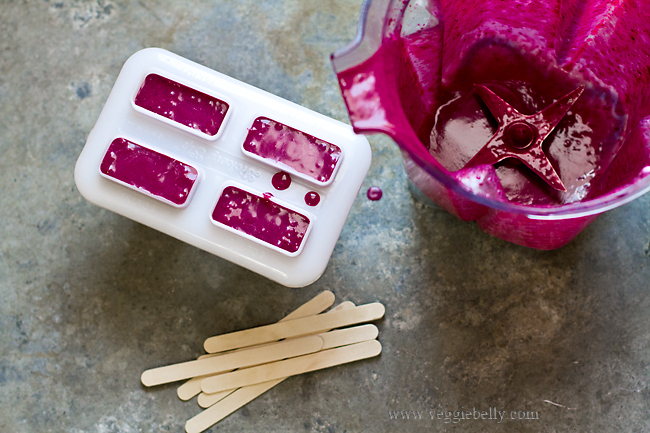
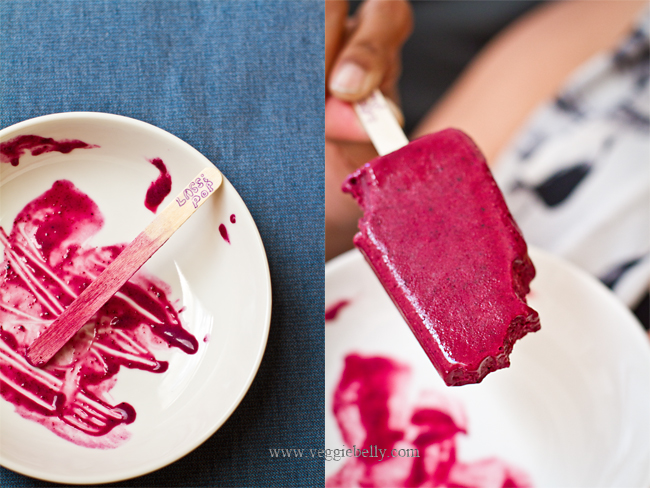
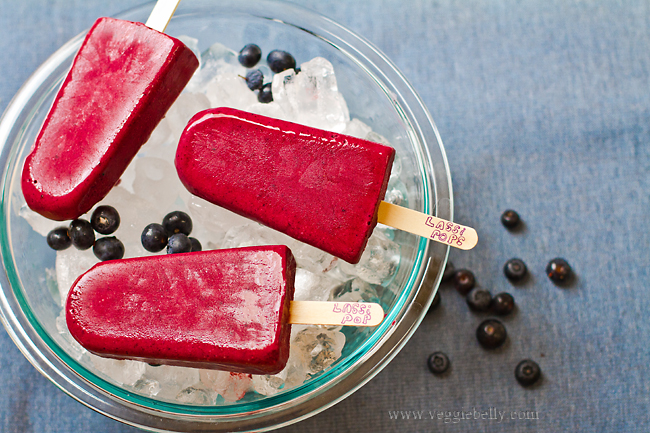
blueberry lime lassi popsLast week, we went blueberry picking in Blue Bee Farms in Sauvie Island, Portland. It was a wonderful, relaxing evening picking blueberries with friends and enjoying the Portland summer. Before we knew it we had picked 50 pounds of blueberries! Blueberry recipes were already starting to pop up in my head! I thought I should make lassi, an Indian fruit and yogurt drink, with a batch of blueberries before I froze them for later use. Then I got a better idea. Blueberry lime lassi popsicles! They are easy to make and a unique frozen treat for a warm day.
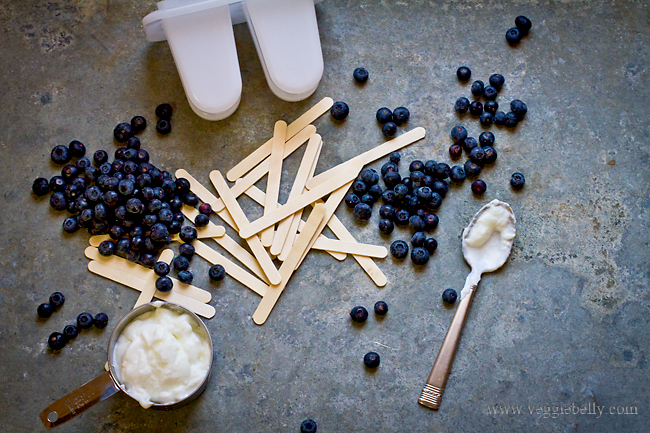
ingredients for blueberry lassi popsIf you don’t have popsicle molds, you can still make these popsicles. Simply the pour the lassi into paper cups and freeze them. Then when they are half frozen, stick a spoon in the middle. When you are ready to eat, tear away the paper cup, and wrap the spoon in a paper towel so it doesn’t get too cold to hold.
Blueberry lime lassi popsible in moldsI cooked the blueberries in sugar briefly. But this step is optional. You can also simply puree all ingredients, uncooked, and feeze them. See the recipe below for the no-cook variation. I’ve tried a dairy-free version of this recipe, using coconut milk instead of yogurt and that was very tasty as well.
blueberry lime lassi popsblueberry lime lassi popsicles

Blueberry Lime Lassi Popsicles Recipe

makes 4 popsicles

Ingredients
1 cup fresh blueberries
1/4 cup sugar
1/16 teaspoon (tiny pinch) ground cardamom, optional
A pinch of salt
1 cup full fat yogurt
Juice of 1 lime

A popsicle mold that can hold 4 popsicles
4 wood popsicle sticks

Method
1. Place the blueberries, sugar, salt and cardamom if using in a heavy bottom pan. Cook on medium heat until the berries are soft and mash easily, about 4 minutes.
2. Let the berry mixture cool to room temperature. Then pour it into a blender, along with the lime juice and yogurt. Blend until very smooth.
3. Pour the lassi into popsicle molds and freeze until semi-solid, about 1 hour. Now insert the popsicle sticks half way into the mold. Return to the freezer and let the popsicles freeze solid, about 4 hours.

No-Cook Version
1.Blend all ingredients in a blender until very smooth. Pour the lassi into popsicle molds and freeze in the freezer.
2.When the popsicles are semi-frozen, about 1 hour, insert the popsicle sticks half way. Freeze until the pops are solid, about 4 hours.

Related Posts with Thumbnails