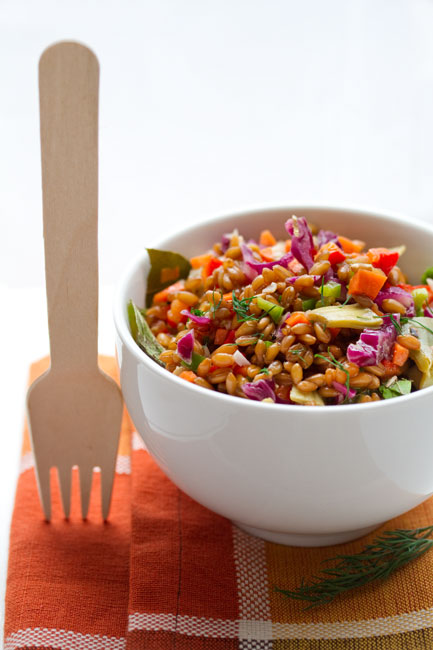
Wheat Berry Confetti Salad with Artichokes, Peppers, Dill and Mint

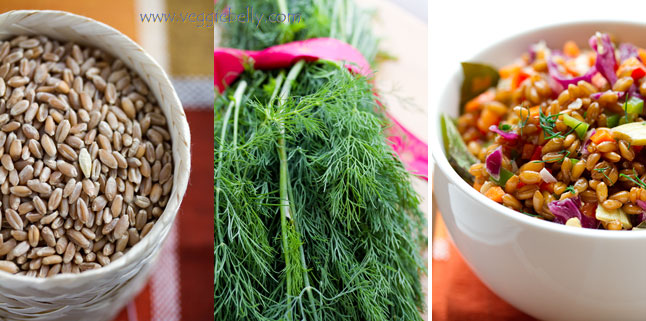
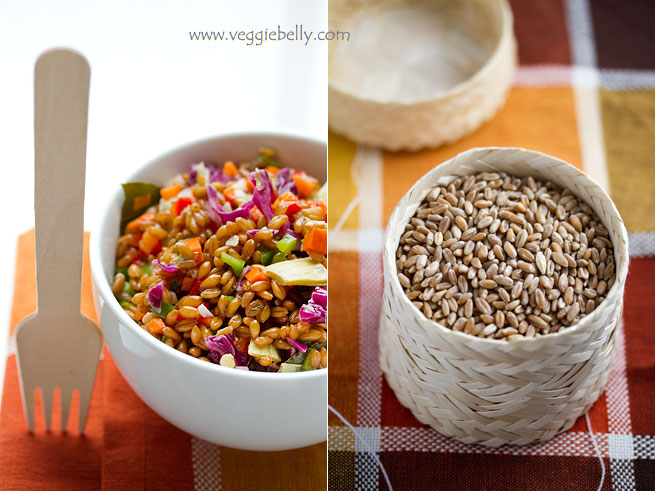
Wheat berry is the whole wheat kernel containing the wheat germ and wheat bran.  Wheat berries have heaps of fiber and protein. They have a sweet, nutty flavor and a chewy texture. They are tasty, easy to make and good for you. I buy wheat berries at Whole Foods. This recipe has a great confetti of color from all the different vegetables. Not only is this a colorful, healthy salad, its also vegan!

How to cook wheat berries

- Boil wheat berries in salted water and drain when done

- They will take anywhere between 1 to 2 hours to cook. I usually cook mine for about 1 1/2 hours.

- After one hour, start tasting the wheat berries. Turn off heat and drain when they are done to your satisfaction.

Wheat Berry Confetti Salad with Artichoke Hearts, Roasted Red Pepper, Green Pepper, Purple Cabbage, Yellow Sweet Corn, Dill and Mint Recipe

serves about 4

1 cup hard wheat berries
1-2 dried bay leaves
10 cups water
4 tablespoons olive oil
1-2 cloves garlic, finely minced
2 tablespoons white wine vinegar
1 teaspoon brown sugar
salt and pepper
1 large artichoke heart (bottled or frozen), chopped
1/2 cup chopped roasted red peppers
1/2 cup chopped green peppers
1/4 cup shredded purple cabbage
1/4 cup canned sweet corn, drained
1/2 tablespoon chopped fresh mint
1/2 tablespoon chopped fresh dill

Place the wheat berries, bay leaf, and water in a large pot. Salt the water generously. Bring to a boil. Then reduce heat to medium. Place a lid on the pot and crack the lid open to let steam escape. Let the wheat berries boil for about 1 1/2 hours or till done. After an hour of cooking, start checking the wheat berries for doneness. Remove from heat when wheat berries are done to your liking. Drain and set aside.

In the same pot, heat olive oil. Add the minced garlic and let it sizzle for about 20 seconds. Turn off heat and let the oil cool a little. Then stir in white wine vinegar, brown sugar, salt and pepper. Add cooked wheat berries to pot and mix well. Then add all other ingredients and mix well. Serve at room temperature. This salad will taste better if left in the fridge overnight.

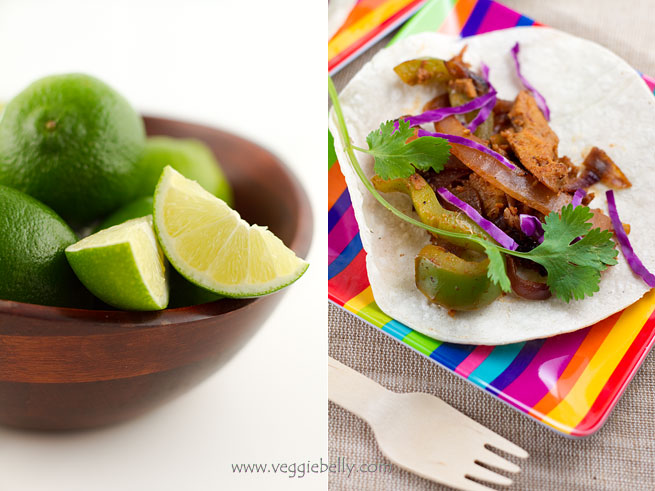
Chipotle Spiced Seitan Tacos

This recipe is a vegetarian and vegan version of a Food & Wine magazine recipe for chile spiced skirt steak tacos. I found the recipe on the Bitten Word site- my new favorite blog by fellow Washington DC bloggers!

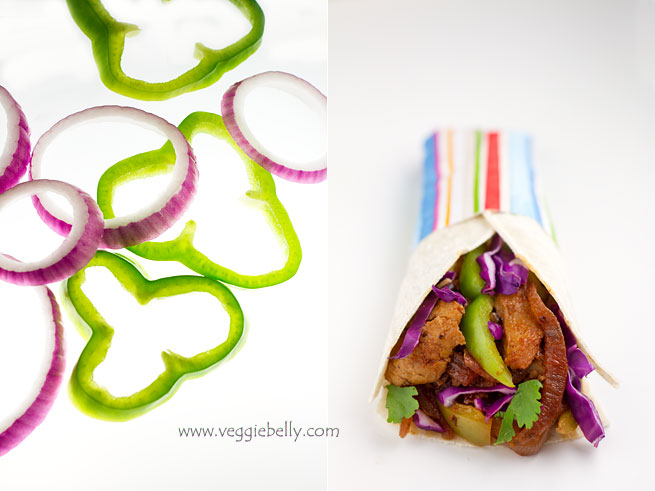
I used seitan (Westsoy brand)  instead of the meat and added some onions and green peppers to bulk it up.  I made some changes to the original taco seasoning recipe — I used more chipotle powder. I didnt use ancho chile powder because i didnt have any. I also cut out the black pepper because I didnt think it added much to the taco seasoning. The original recipe calls for onion powder, but because i was using a lot of fresh onions, I left out the onion powder. 

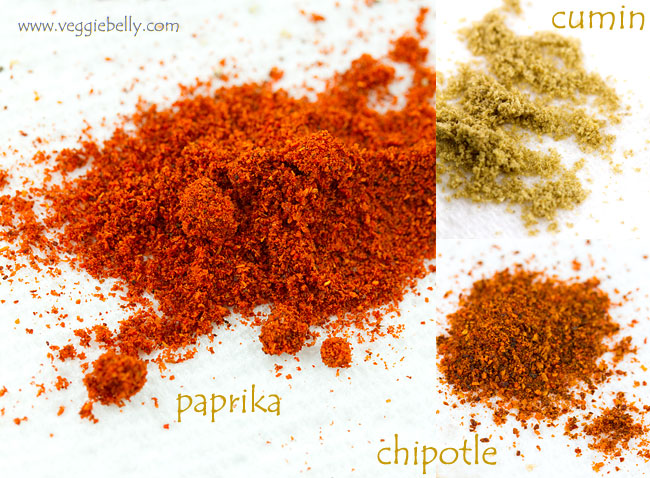
Non-vegans can serve this taco with shredded cheese and sour cream. But these tacos were so tasty thanks to all the paprika, chipotle, cumin and other spices that I didnt miss the cheese or sour cream. Enjoy with a good, cold mexican beer.

Chipotle Spiced Seitan Tacos Recipe

adapted from this Food & Wine magazine recipe found on The Bitten Word blog
makes about 8 tacos

for taco seasoning
1 teaspoon chipotle chile powder
2 teaspoons sweet paprika
1 teaspoon ancho chile powder (i left this out)
1 teaspoon garlic powder
1 teaspoon light brown sugar
1/4 teaspoon ground cumin
1/4 teaspoon ground coriander
3/4 teaspoon salt
1/4 cup fresh lime juice

for the filling
2 tablespoons oil
1 large red onion, cut into strips
1 large green pepper, cut into strips
8oz  seitan

8 corn tortillas, warmed
Pico de gallo, Guacamole, lime wedges, chopped cilantro and shredded red cabbage for serving

In a small bowl, whisk together all ingredients for the taco seasoning and set aside. In a wok, heat oil and add onions. Cook on medium heat till the onions are soft and caramelized, about 7 minutes. Then add green pepper strips, seitan, mixed taco seasoning and saute for about 2 minutes.

Serve with warm tortillas, pico de gallo, guacamole, and shredded red cabbage.

Chive Blossom Tempura Salad

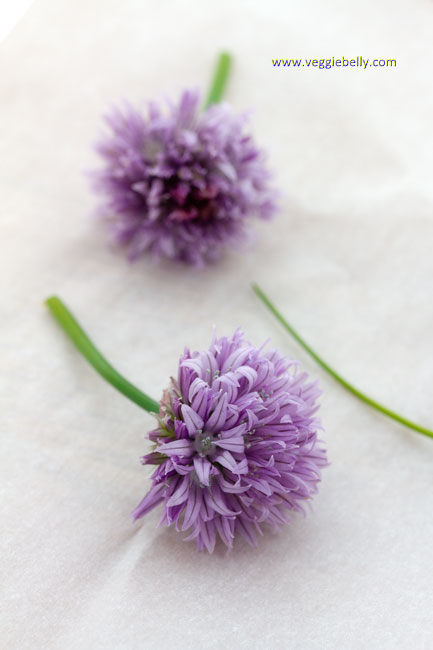
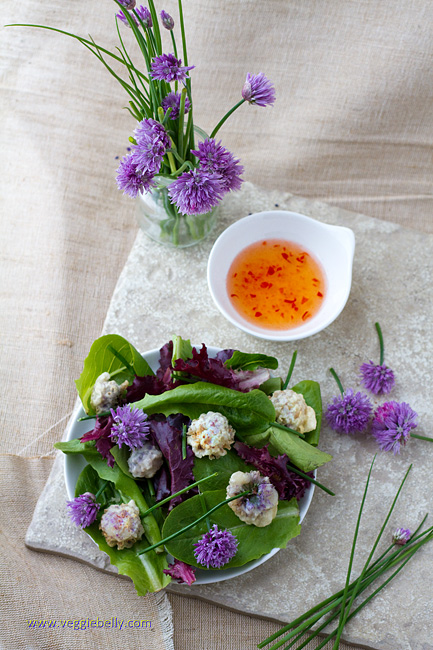
My dear friend Siva is the most passionate foodie I know. He goes on amazing eating trips and comes back with a head full of ideas. One such idea is this chive blossom tempura. When I returned home with a beautiful bunch of  blooming chives from the Dupont circle farmers market , I asked Siva what he suggests I do with them. Tempura was his answer. This tempura is easy to make, tastes great, and the batter is eggless. Serve this tempura by itself or on a salad. Thanks Siva!

Notes:

- If you dont have chive blossoms, just use fresh chives. Chop the chives and mix it with the tempura batter. Then fry small spoon fulls of this batter. Eat these chive fritters with dipping sauce or over  salad

- Use your favorite tempura dipping sauce. Mine had vinegar, chillies, sugar and soy sauce. I use this sauce for dipping the tempura and also as a salad dressing

- Make sure the club soda/soda water/seltzer you use for the tempura batter is ice cold. I add some ice cubes to make it extra cold, and then measure the liquid out

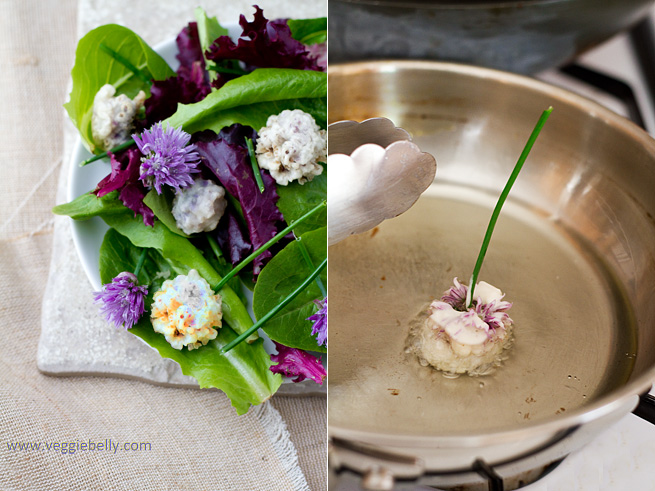
- If you are serving this as a tempura (without the salad), you may want to leave a little of the stem on the chive blossom for great presentation. See photo below. Holding the stem, dip the flower in the tempura batter. Then fry the flower part only, while holding on to the stem using tongs.


Chive Blossom or Chive Flower Tempura Salad Recipe

Serves about 2

One bunch of chive flowers (about 16 flowers)
1/2 cup flour
1/2 cup ice cold club soda or seltzer or soda water
a pinch of baking powder
Salt & pepper
Vegetable oil for shallow frying
Store brought tempura dipping sauce
3 cups salad leaves of your choice (dont use strong tasting ones like arugula)

Cut the chive flowers from the stems. Chop up the stems and reserve.

Make the tempura batter by gently mixing together flour, soda water, baking powder, salt and pepper. Dip a chive flower into the batter and shallow fry till crisp and golden on all sides. Repeat with all chive flowers, a few at a time. Drain the tempura on paper towels. Arrange tempura over salad leaves. Garnish with chopped chive stems. Serve with your favorite tempura dipping sauce.

Grilled Portobello Mushroom, Roasted Red Pepper and Mozzarella Sandwich or Burger

I received the below facebook message one day from my friend, Aditya. Being the great mushroom aficionado that I am, how could I have posted all  but one portobello recipe on this site?!  Ive featured other mushrooms on Veggie Belly, like the shitake mushroom soup, morel mushrooms over polenta, beech mushroom flat bread, and my recent morel mushroom pasta with fiddleheads. But the mighty, meaty portobello has been in all but one recipe on veggie belly. I defenitely had to remedy that!

Aditya, this one is for you  ♥ 

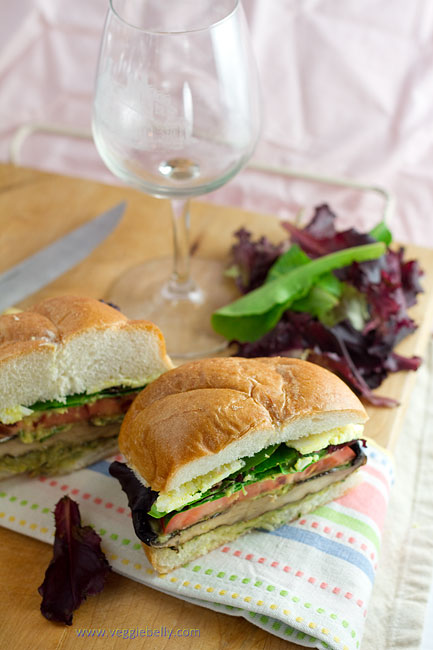
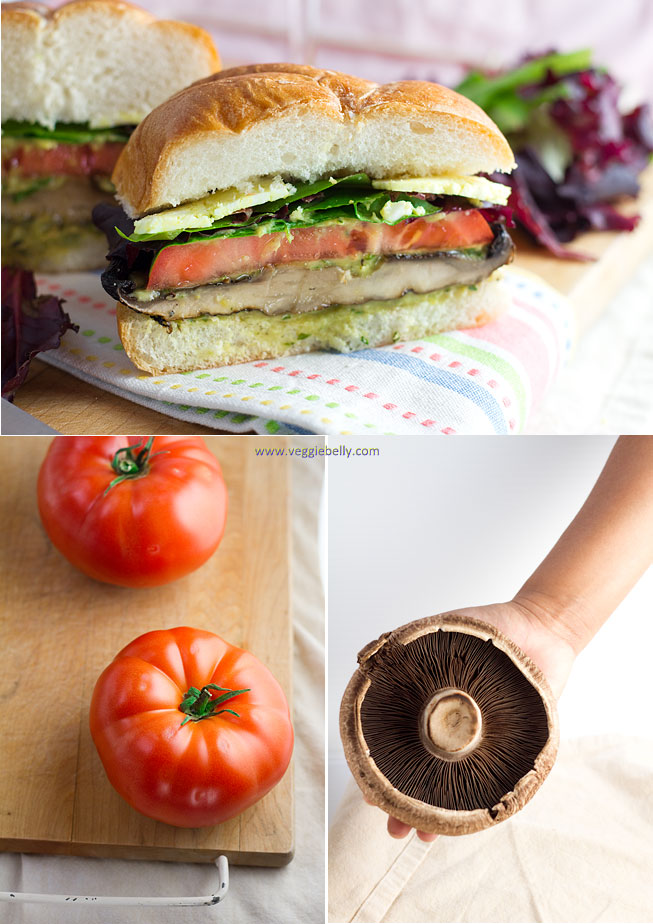
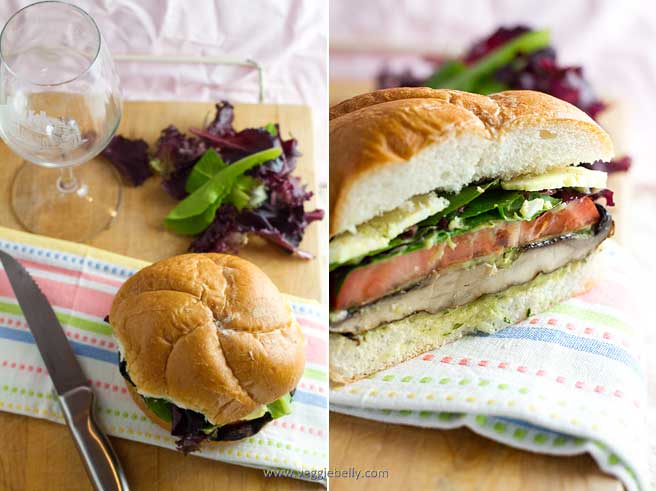
These portobellos were larger than the palm of my hand! But they turned out to be the perfect size for these sandwiches/burgers; they shrunk just enough while cooking on the grill, to fit in the kaiser roll. Portobello or portabella mushrooms are delicious in burger style sandwiches because they are meaty in taste and texture. They are often called the ‘steak of all mushrooms’! They also take to grilling very well. I used beefsteak tomatoes in this sandwich, again, for their meaty texture. But any tomato will do.

Grilled Portobello Roasted Red Pepper and Mozzarella Sandwich/Burger Recipe

makes 4 sandwiches

4 large portobello mushrooms
2 tablespoons olive oil
1-2 tablespoon balsamic vinegar
1/2 teaspoon italian seasoning
salt & pepper
4 kaiser rolls or burger buns or 8 slices of any other loaf bread
2-4 tablespoons mayonnaise or my white bean asparagus hummus
2 tablespoons chopped fresh basil
4 slices beefsteak tomato
4 slices fresh mozzarella (or whatever cheese you like)
4 large pieces of store bought, jarred roasted red pepper
1 cup salad leaves or lettuce of your choice

Heat an outdoor grill to 400f.

Wipe the mushrooms clean. Using a spoon, scrape off the gills from the mushrooms. Whisk together olive oil, vinegar, italian seasoning, salt and pepper. Brush the olive oil and vinegar mixture all over the mushrooms.

Place the mushroom caps on the grill and grill about 2-3 minutes on one side. Flip the mushroom caps, and grill another 2-3 minutes. (If you like your cheese melted, place cheese slices on portobello caps (gill side) after you have flipped them). Remove grilled mushrooms to a plate, and cover to keep warm. If you are not using an outdoor grill, broil the mushrooms in the oven; about 3-4 minutes (or till browned a little) per side.

Cut the bread roll in half. Spread some mayonnaise or my white bean asparagus hummus  on both halves. Sprinkle some basil on top. On the bottom half of the bread roll, arrange the grilled portobello mushroom, tomato slice, mozzarella slice, and roasted red pepper. Top with lettuce or salad greens. Place the other bread slice on top. Secure sandwich with a toothpick. Serve with a side of soup or salad and fries or chips.

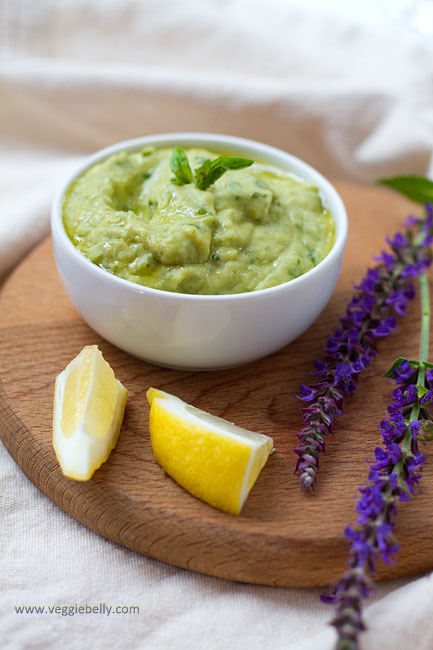
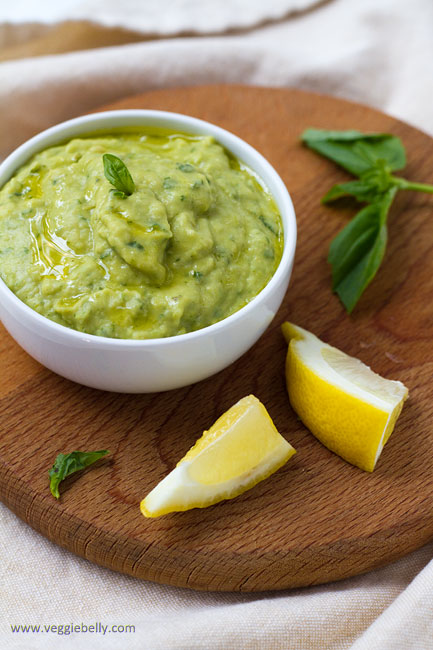
White Bean(Cannellini), Asparagus and Basil Hummus or Dip

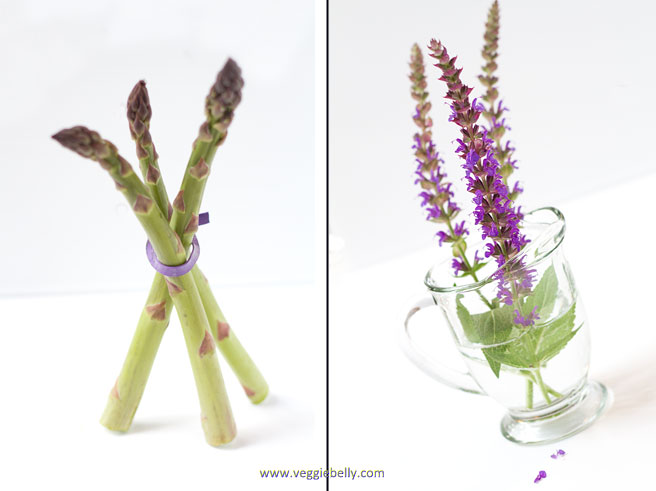
We have a lot of Salvia plants in our garden. I particularly love the ones around our mail box. Come spring, and the Salvia erupt into a glorious bloom. This year, our Salvia are particularly lush and gorgeous, probably because of all the rain. Nothing makes me happier than coming home to these purple tufts of Salvia, buzzing with bees.

Just as the blooming of Salvia flowers remind me of the joys of spring, so do the stalks of asparagus at the farmers market. I made a healthy, vegan dip or hummus with fresh asparagus stalks and some white beans. This dip come together in no time and is a lighter alternative to creamy store bought dips. I also like using this as a spread for sandwiches.


White beans or cannellini beans add a nice creaminess to this dip/spread without the added fat. I used asparagus because it is now is season. Broccoli or spinach would also work.  

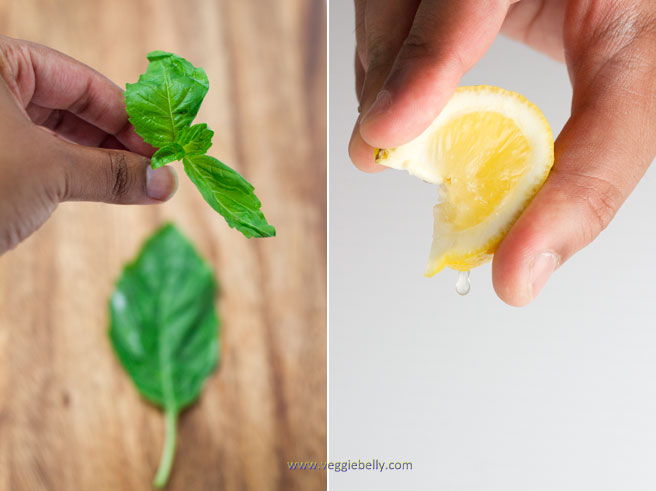
Basil and lemon juice add a fresh, bright taste. If you like it more lemony, stir in some lemon zest.

Here are some other white bean/ cannellini bean based dips around the web

Giadas white bean dip. Gotta love Giada!
Cannellini bean dip with sage and rosemary by Andrea Meyers
Easy white bean dip on cheap healthy good blog

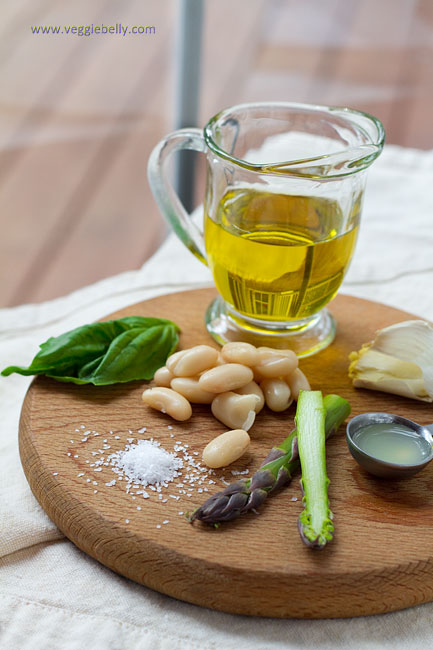
White Beans (Cannellini), Asparagus and Basil Hummus Dip Recipe

makes about 1 1/2 cups

6-8 stalks of asparagus
one 15 oz can white beans/cannellini beans, washed and drained well
1 garlic clove, peeled
1/4 cup olive oil
1/2 cup basil leaves
2-3 tablespoons lemon juice
salt and pepper

Chop off and discard the tough ends of the asparagus stalks. Chop the asparagus into pieces. Boil asparagus in some water, till asparagus is tender. Drain well and place asparagus in a blender. Place all other ingredient in the blender as well. Puree as smooth or as chunky as you like. Serve chilled with vegetable crudites, chips or pita bread.

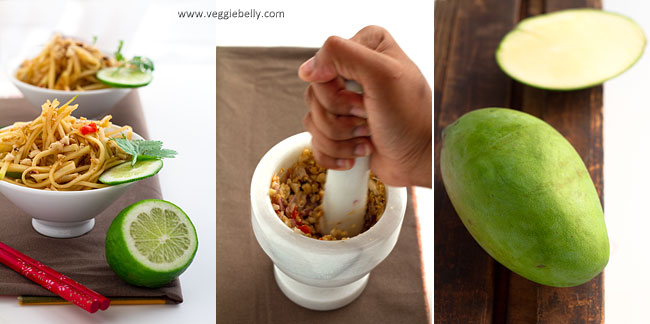
Temples, Monks and a Thai Raw Mango Salad with Tofu. Thailand Part 2.

I love Thailand for its sensuous food, elegant people and spectacular sights. Out of the 30 or so countries I’ve visited, Thailand is easily on the very top of my favorites list. Here, I share with you some pictures of Bangkok – a city that is a beautiful mélange of ancient culture and modern lifestyle. You will find serene Buddhist temples along the Chao Phraya river. And a hop away, you will find racy go go bars in Nana plaza. It is incredible that these cultural extremes co-exist. With its night life, beautiful Wats (temples) and amazing food, Bangkok is a truly exciting place. If only Bangkok was cooler, Id move there in a heartbeat!

Above: Wat Pho in Bangkok;  the gigantic reclining Buddha with mother of pearl in His feet

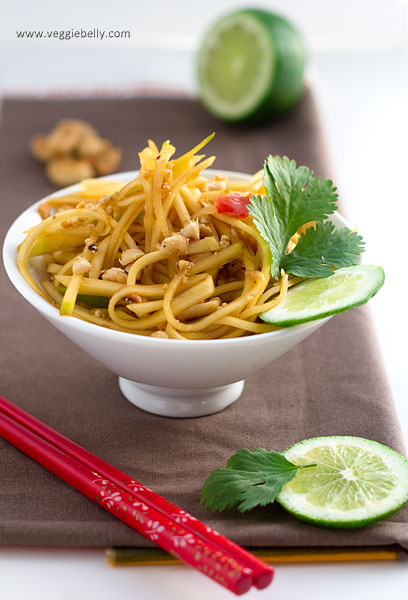
The most memorable part of my trip to Thailand is of course, the food. Thai cooking is seductive; and I cant think of a better recipe to showcase the beauty of Thai food like this one. Salty soy sauce, rich, sweet brown sugar, fresh zesty lime, crunchy, nutty peanuts, hot chillies, and crisp, sour mangoes. Every flavor in the world is packed into this mango salad.

Traditional Thai mango salad doesn’t have tofu in it. I added tofu to make this salad more filling.

Some tips:

Make this salad a day ahead and store it in the fridge. The flavors get so much better the next day
Only use raw, green mangoes (not the ripe yellow ones)
Leave out the chili if you prefer a milder salad
Add strips of pan-fried tofu to make this salad heartier
If you dont have a mortar and pestle, use a food processor to crush the peanuts

Thai Raw (Green) Mango Salad with Tofu Recipe

serves about 4

2 large green, raw mangoes
3/4 cup roasted peanuts
2 shallots, peeled
1 thai red chili (use more or omit according to taste)
3 tablespoons soy sauce
3 tablespoons dark brown sugar
1 tablespoon lime juice
a few sprigs cilantro
6 oz firm tofu, drained (optional)
Salt

Peel the mangoes and cut around the pit. Discard the pit. Grate the peeled mango using a box grater. Alternatively, slice the peeled mango into very thin strips.

Place the roasted peanuts, peeled shallots and red chili in a mortar and pound to a rough paste. Add this crushed peanut mixture to the shredded mango.

In a small bowl, whisk together the soy sauce, brown sugar and lime juice. Add this to the shredded mango and peanuts. Toss well. Taste and add salt if needed. Garnish with cilantro. Serve chilled.

To add tofu to this salad: Drain tofu and pat dry. Cut it into thin strips. Pan fry the tofu strips in a little oil till golden. Toss the tofu with the mango salad.

Twice Cooked Tomato Chutney

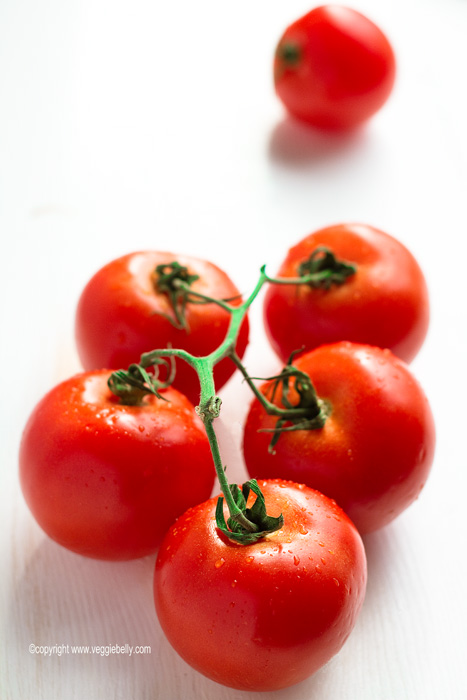
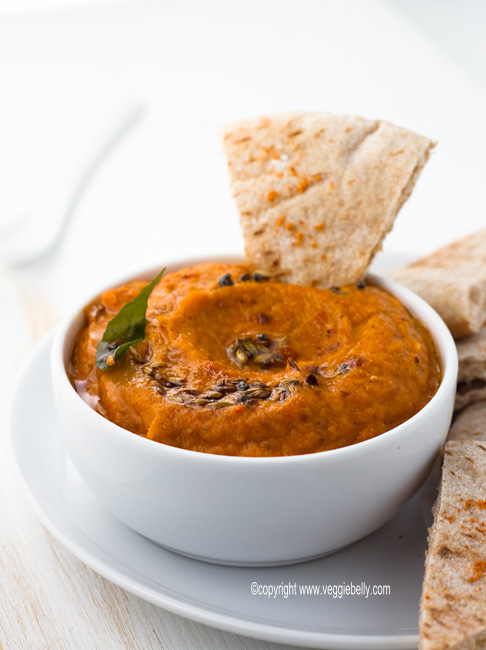
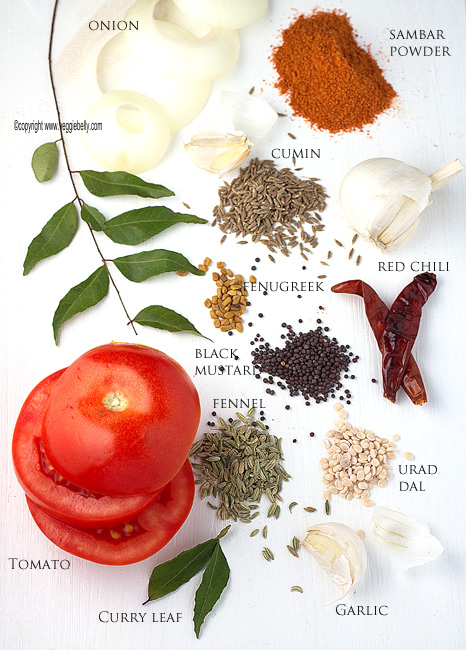
This takes a little longer to make than your average chutney, but well worth the effort. Double cooking  the chutney (once before pureeing, and once after) makes the onion, garlic and tomatoes extra flavorful. I like to add sambar powder to my tomato chutney. Sambar powder is a roasted, powdered blend of spices from south India containing red chilies, coriander seeds, turmeric, lentils and fenugreek. You could leave out the sambar powder if you wish or use only turmeric and chili powder instead.

The recipe below is my ‘special’ version. For a simpler, ’everyday’ version of this tomato chutney, I simply saute the onions, garlic and tomatoes, blend in a blender, temper some black mustard and cumin, add the pureed chutney and cook again. No matter which version I am making, I always twice cook the chutney.

This chutney will freeze well, so if you have a bumper crop of tomatoes this summer, and dont know what to do with them, this is a great option for you. I put the chutney into ice cube trays and place in the freezer. Once they are frozen, I remove the cubes from the tray, put them in a zip lock bag and return to the freezer. This way, you can defrost even tiny quantities of chutney.

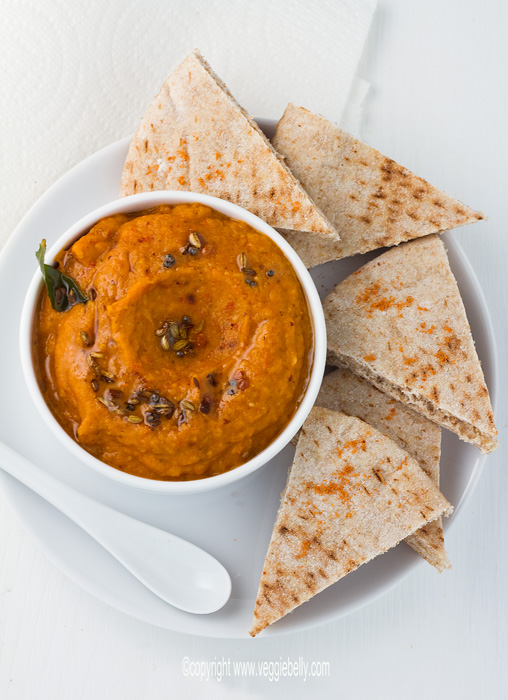
Serving tomato chutney with idlis or dosas is traditional. Here, I serve the chutney with pita bread.

Twice Cooked Tomato Chutney with Cumin and Fennel: Recipe

makes about 2 cups

3 tablespoons vegetable oil
1/4 teaspoon each cumin seeds, fennel seeds, black mustard seeds, urad dal (black gram)
1/8 teaspoon fenugreek seeds
1 dried red chili, optional
1/2 cup curry leaves loosely packed
1 large onion (about 2 cups when diced)
8 pods garlic, peeled
6-8 (about 1 lb) ripe tomatoes, diced
1 teaspoon sambar powder

for tempering:
1/2 tablespoon vegetable oil
1/8 teaspoon each cumin seeds, fennel seeds, black mustard seeds, urad dal
a few curry leaves

Heat oil in a large wok. Add cumin, fennel, black mustard and urad dal. When the mustard seeds begin to pop, add fenugreek seeds, red chili if using, and curry leaves. Cook for about 30 seconds. Then add chopped onion and garlic. Cook on medium heat for 2 minutes. Add chopped tomatoes and cook on medium for about 15 minutes or till the tomatoes are completely soft.

Cool the chutney a little and then puree in a blender, along with sambar powder and 1/2 cup water till smooth. (Make sure to vent the blender lid slightly when blending hot stuff).

Wipe the wok, and heat oil for tempering. Add all tempering ingredients. When the mustard seeds splutter, reduce heat and carefully pour the blended chutney into the wok. Be very careful, the chutney may bubble and splatter. Add salt. Cover the wok and cook the chutney on medium-low for about 15 minutes, stirring occasionally. Serve with idli, dosa or pita bread.

Easy Thai Green Curry (Gaeng Keow Wan)

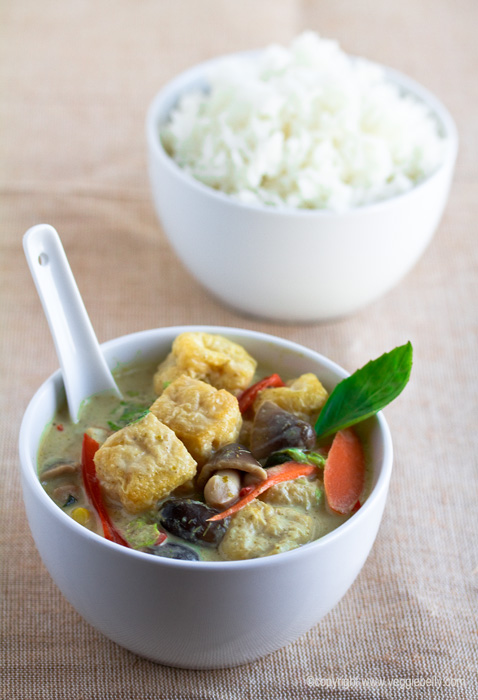
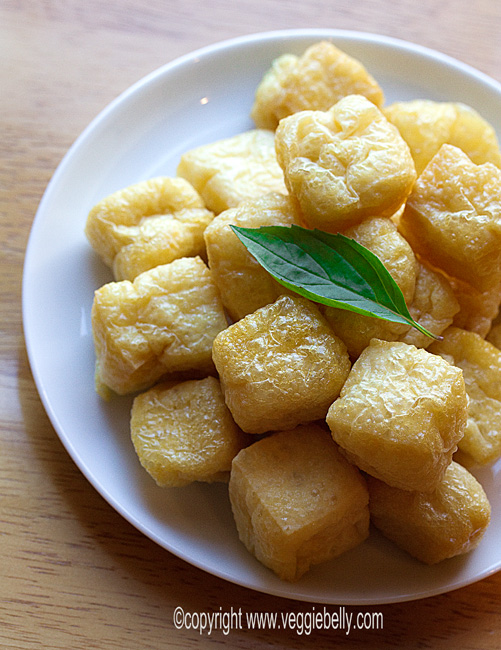
I don’t know what I’d do without an Asian store near me. The one I go to is huge, cheap and stocked with every ingredient you’d need to make any Asian meal imaginable. One of my favorite things at the Asian store is tofu or soy puffs – little cubes of golden fried tofu. When you add tofu/soy puffs to curries, they absorb all the flavor and become incredibly flavorful. If you cant find tofu puffs, oven bake or deep fry some firm tofu and use in this recipe.

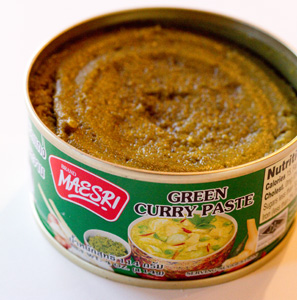
I learned how to make fresh green curry paste when I was in Thailand (more about that in future posts!), but I think store bought green curry paste is good enough when you are in a hurry. No pounding lemon grass in a mortar and pestle here! Freshly made curry paste ofcourse is much tastier, but if you are in a rush, canned paste is just fine.

 The Maesri brand green curry paste I use contains:

green chili
shallots
ginger, garlic
lemon grass
kaffir lime
sugar
galangal
turmeric
coriander
cardamom
cumin

You simply add coconut milk to the paste, boil, then add vegetables, boil again and you are done!

I like to garnish my thai curries with lots of fresh thai basil. Cilantro or green onions will also make great garnishes.

Thai Green Curry (Gaeng Keow Wan) Recipe

serves about 4

1 can (4 tablespoons) green curry paste (you may need to use more or less depending on the brand)
1 can (13.5 oz) coconut milk
1/2 cup water
2 cups napa cabbage or chinese cabbage, shredded
1 medium red pepper, cut into thin strips
1 medium carrot, cut into matchsticks
1 cup fresh or canned straw mushrooms
1/2 cup canned baby corn
1 cup tofu puffs (or firm tofu cubes that have been deep fried)
1/4 – 1/2 cup Thai basil leaves, loosely packed.

Heat a large wok and place the green curry paste, coconut milk and water in it. Bring to a boil while stirring. Reduce heat and simmer for about 5 minutes. Add all other ingredients, except Thai basil, and boil gently for about 4 minutes or till the cabbage has wilted and the vegetables are cooked but not mushy. Turn off heat. (If the green curry is too spicy for you, add more coconut milk). Sprinkle chopped Thai basil on top. Serve with jasmine rice.

Related Posts with Thumbnails