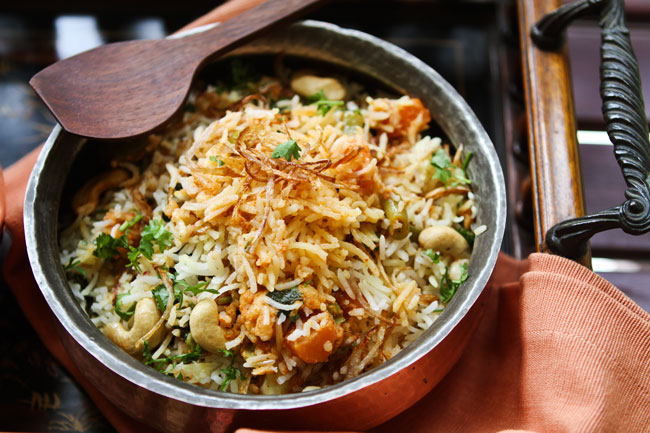
I imagine that 500 years ago Indian emperors ate like this. Steaming hot biryanis straight from the handi (a cooking vessel), scented with cinnamon, safron and nuts and served with a cool minty raita. Mughlai cooking originated in India around the 16th century, during the Mughal empire. Mughlai cuisine is rich and flavorful. It uses nuts, saffron and whole spices like clove and cardamom. Many Mughlai foods are baked in the oven in sealed pots (handi).
I learned how to make this vegetable Mughlai biryani from Veena aunty, a seasoned, passionate cook, and friend of my mother’s. (Have you seen my post on Veena aunty’s out-of-this-world paneer parathas?!) This vegetable Mughlai biryani recipe takes a bit of time. But all the hard work in the kitchen will be well worth the end result – a biryani that is fragrant, flavorful, and filling.
Mughlai Vegetable Biryani Recipe
Serves about 8
For the rice
Ingredients
2 cups long grain basmati rice
2 tablespoons salt
1 tablespoon lemon juice
Method
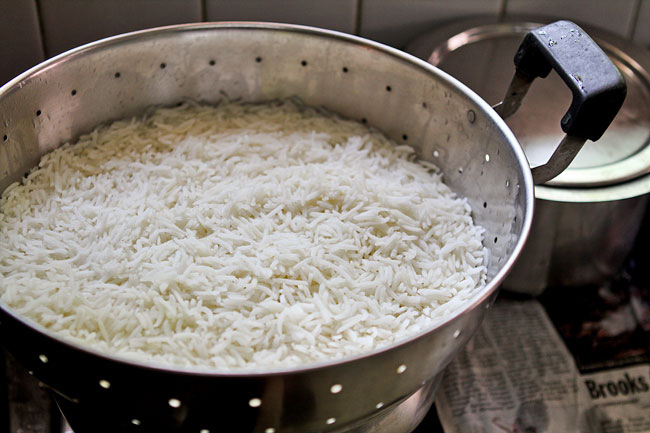
1. Wash and drain the rice. Bring 8 cups of water to a boil in a large saucepan. When the water boils, add the rice, salt and lemon juice. Stir gently. When the water boils again, reduce heat to low. Simmer the rice, uncovered for about 8 minutes, or till the rice is about 3/4th cooked.
The grains must be swollen, but they must still be a little chewy. If the rice is crunchy it needs to cook more. If the rice is soft, you have over cooked it.
Drain the rice in colander. Gently wash it in cold water. Let it drain well. Then spread the rice out on a large platter to cool completely.
For the vegetables
Ingredients
½ cup fresh beans, chopped
½ cup green peas
1 cup carrot, chopped into small cubes
1 cup cauliflower cut into small florets (about 12 small florets)
Method
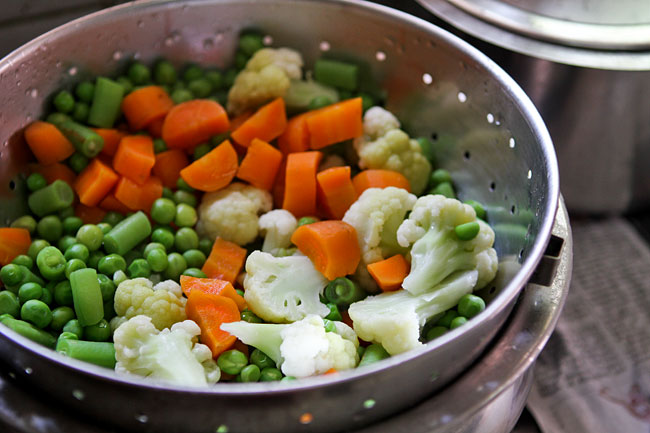
1. Boil plenty of water in a large pan. Add the beans, peas and carrots. Boil for 2 minutes. Add the cauliflower, and boil 2 more minutes. All the vegetables must be a little crunchy and half cooked.
2. Drain the vegetables well, and wash in cold water to stop the cooking process. Drain again and set aside. Alternatively, skip using fresh vegetables altogether and use 3 cups of frozen, thawed mixed vegetables instead (no need to boil in water)
For the masala
Ingredients
1 tablespoon cashewnuts
½ tablespoon khus khus (white poppy seeds)
1 tablespoon fresh grated coconut
1/3 cup vegetable oil
2 small onions grated (about ½ cup when grated)
½ bay leaf
1 thin piece of cinnamon
4 cloves
2 cardamom pods
1 teaspoon ginger paste
1 teaspoon garlic paste
2 medium tomatoes, pureed in a blender
½ cup full fat yogurt
1 teaspoon garam masala
2 teaspoons chili powder
¼ teaspoon cumin powder
For layering
½ cup chopped cilantro leaves
½ cup chopped mint leaves
½ teaspoon saffron dissolved in ½ cup warm milk
2 tablespoons ghee
Method
1. Grind the cashew, khus khus and coconut into a smooth paste, using as little water as possible. Set aside.
2. Heat oil in a large skillet. Add grated onions, and cook on low heat till the onions are brown, about 10 minutes.
3. To the onions, add the bay leaf, cinnamon, cloves, and cardamom. Crank up the heat to medium and stir for about 1 minute or till fragrant.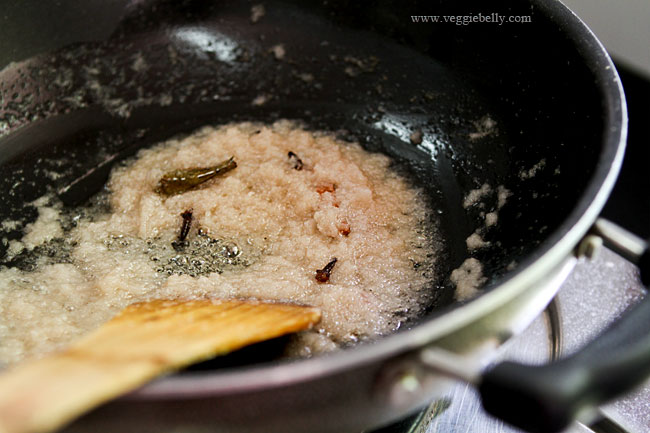
4. Add the ginger and garlic pastes. Stir and let it cook for about 30 seconds.
5. Add the coconut, khus khus, cashew paste. Stir another 30 seconds.
6. Add pureed tomatoes and cook for about 4 minutes. Remove the skillet from the heat.
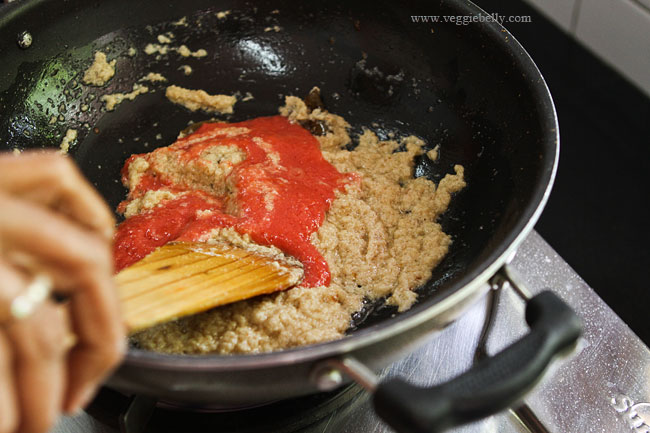
7. Add yogurt and mix well. Moving the skillet away from the heat when adding yogurt will prevent it from curdling.
8. Return the skillet to the stove. Turn heat to low, and add garam masala, chili powder, and cumin powder. Stir for 1 minute.
9. Now add the reserved vegetables and salt. Cook for 10 minutes or till the vegetables are almost done. Add ½ cup water, and simmer another 3-5 minutes.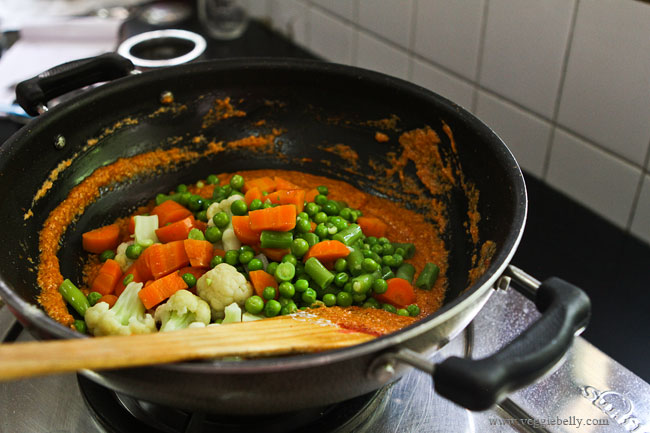
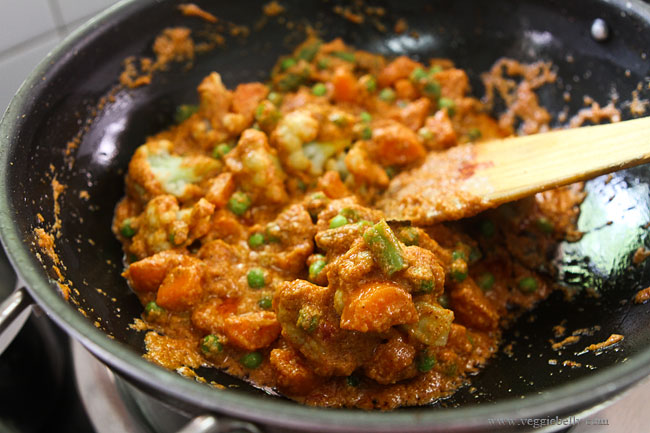
10. Taste the gravy and adjust salt if needed. Remember: this gravy will be spicy, but when you add the rice to it later, everything will balance out.
11. Now you are ready to layer the biryani. Take a large baking dish. Lightly oil the inside.
12. Layer everything in this order – half the rice, half the chopped cilantro, half the chopped mint, all the vegetables and gravy, remaining half of the rice, saffron dissolved in milk, remaining half the cilantro and mint. Drizzle the top with ghee.
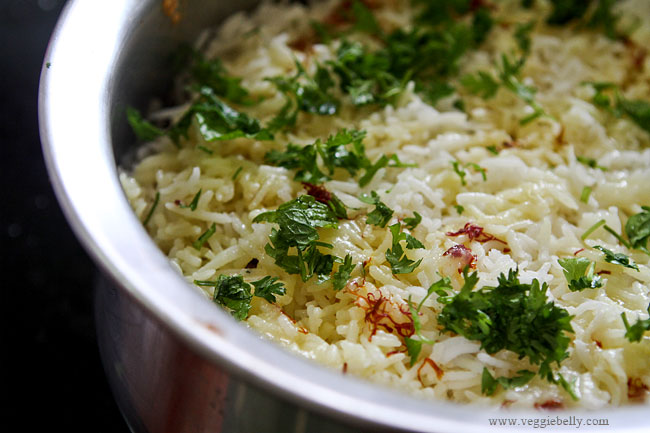
13. Cover the baking dish and bake in a 350f oven for 15 minutes or till the rice is cooked through but not muchy. Turn the oven off, and let the biryani sit in the hot oven another 10 minutes.
If you dont want to bake the biryani in the oven, layer everything as above in a deep saucepan. Cover tightly with a lid, and set it on the stove top. Cook on low heat for about 10-15 minutes or till the rice is cooked through but not mushy.
For topping
Ingredients
2 medium onions
8 cashewnuts
Oil for deep frying
Method
While the biryani is baking, work on the toppings.
1. Using a mandolin, slice the onions very thinly. If using a knife, make sure the knife is sharp and slice the onions as thinly as you can into strips.
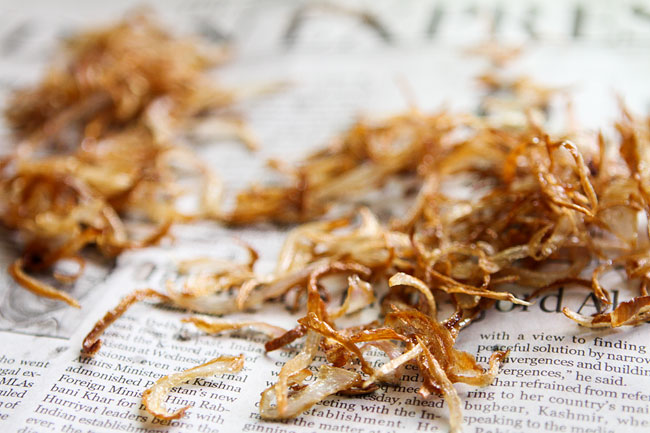
2. Heat oil and deep fry the onion strips, a little at a time. Don’t over crowd the oil. When the onion turns light brown, remove from oil and drain on a paper towel. The fried onion will crisp up as it drains.
3. Then fry the cashewnuts till lightly golden.
4. When the biryani is done, top with the fried onions and cashewnuts.
Serve biryani hot with raita or yogurt.

