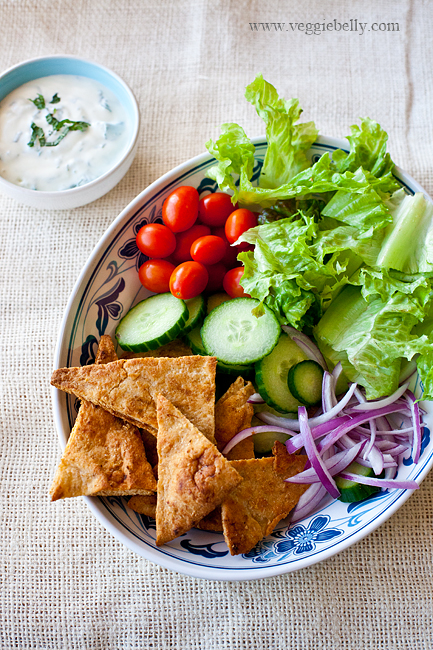
Grilled Naan Salad with Mint Raita Dressing

grilled naan salad with mint raita dressing

A friend of mine was telling me about how she loves Indian food but finds restaurant Indian food too heavy for hot weather. Just because its summer doesn’t mean you need to give up on Indian food! Here’s a grilled naan salad with raita dressing that is both light, and cooling for a hot summer day.

When Stonefire flatbreads approached me to be their spokesperson in Portland, I simply couldn’t refuse. I love a good flatbread, especially naan – an Indian flat bread made in a special clay oven called a tandoor. Stonefire makes a variety of naans, including garlic which is absolutely delicious! I used their regular/plain flavored naan for this recipe and it was very good. But wait, there is a way for you to try this naan salad! Read on..
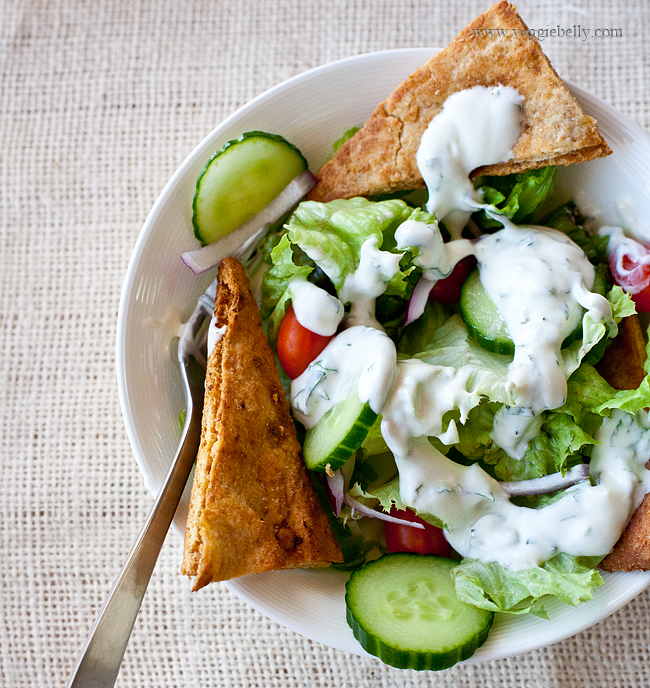
grilled naan salad with mint raita dressing

The Stonefire Food Truck will be touring the country from April-August, 2014 serving up some truly scrumptious fare, all involving flatbreads ofcourse! I will be serving this yummy naan salad at Stonefire’s food truck in Pioneer square on June 26th at lunch time - only one day, only in Portland!

Stop by the food truck for free samples, giveaways and recipe tips!

WHEN:       Thursday, June 26, 2014. 11am-4pm
WHERE:     First stop at SW Morrison St and SW Broadway, followed by SW 3rd Avenue and SW Morrison St and SW Washington St & SW Park Ave

Follow the food cart tour on Facebook and Twitter

Don’t miss it, its going to be fun!

Grilled Naan Salad and Raita Dressing

Serves 2 as an entree

For the salad
1 naan cut or torn into 12 bite size pieces
1/2 tablespoon olive oil
1/2 teaspoon ground cumin
salt
4 cups chopped iceberg or romain lettuce
1/2 cup cherry tomatoes
1/2 cup cucumber slices
1/4 cup red onion slices, optional

For the dressing
3/4 cup plain greek yogurt
2 tablespoons finely chopped mint leaves
2 tablespoons olive oil
2 tablespoon fresh lemon juice
4 tablespoons water
Salt and pepper

Method
Pre-heat oven to 400f.
1. Place the naan pieces on a baking sheet. Whisk the olive oil, cumin and salt together. Pour on top of the naan. Toss well. Arrange the naan pieces in a single layer on the baking sheet. Bake the naan at 400f for 10 minutes or till the naan is golden brown. Remove from oven and set aside.

Alternatively, you can also grill the naan on an outdoor grill – brush the whole naan with the oil and cumin mixture. Cook on an outdoor grill till grill marks appear on both sides and it. Let the naan cook slightly and then tear it into pieces.

2. While the naan is baking, work on the salad dressing. Combine all dressing ingredients in a bowl and whisk till well combined. If the dressing is too thick, add water 1 tablespoon at a time until the desired consistency is reached. It should be thick like ranch dressing. Refrigerate till you are ready to assemble the salad.

3. In a large bowl, toss the toasted naan, other salad ingredients. Serve the yogurt raita dressing on the side. Serve immediately.

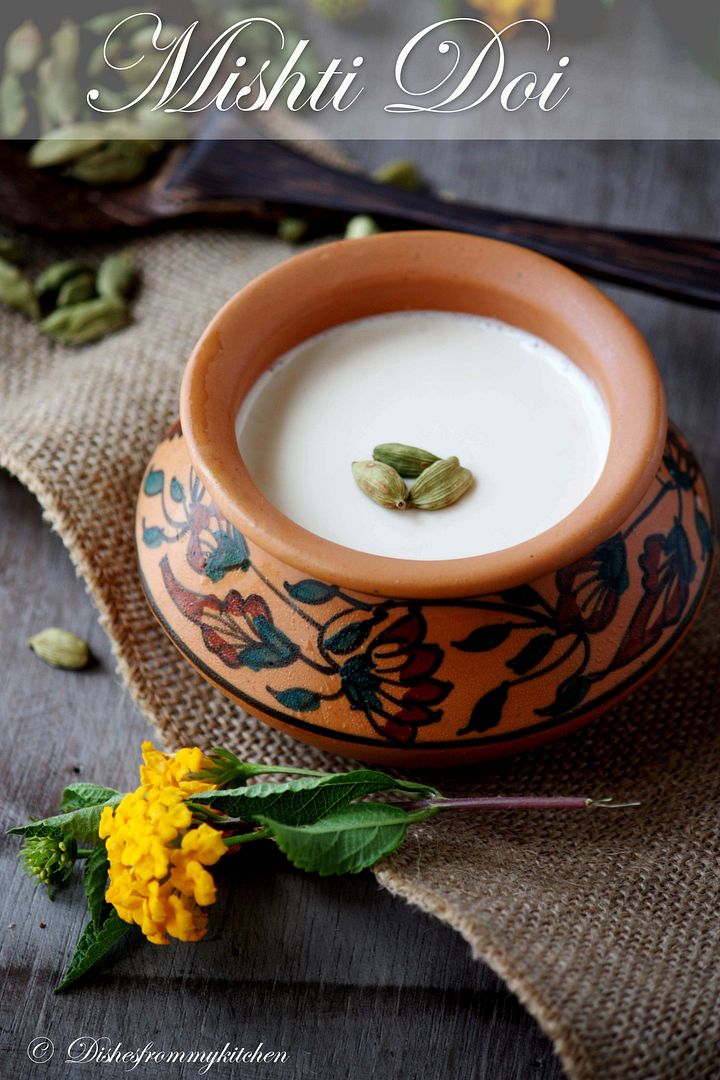
Mishti Doi Recipe – Yogurt Set with Caramelized Sugar

..a guest post by Pavithra of Dishes from my Kitchen

I have just completed a cross country drive across America (read about it here and here!) and moved to Portland, OR. While I’m settling in, I’ve asked my good friend and talented blogger, Pavithra to guest post today. Pavithra and I made an instant connection because we are from the same city in India. And I have followed her beautiful blog and seen it grow into a hugely popular destination for Indian food lovers. You are going to love this sweet yogurt recipe! Take it away Pavithra.

First of all I should say thanks to Sala for giving me an opportunity to do this guest post. I am truly honored! Who can say no when your favorite blogger friend asks you to guest post?

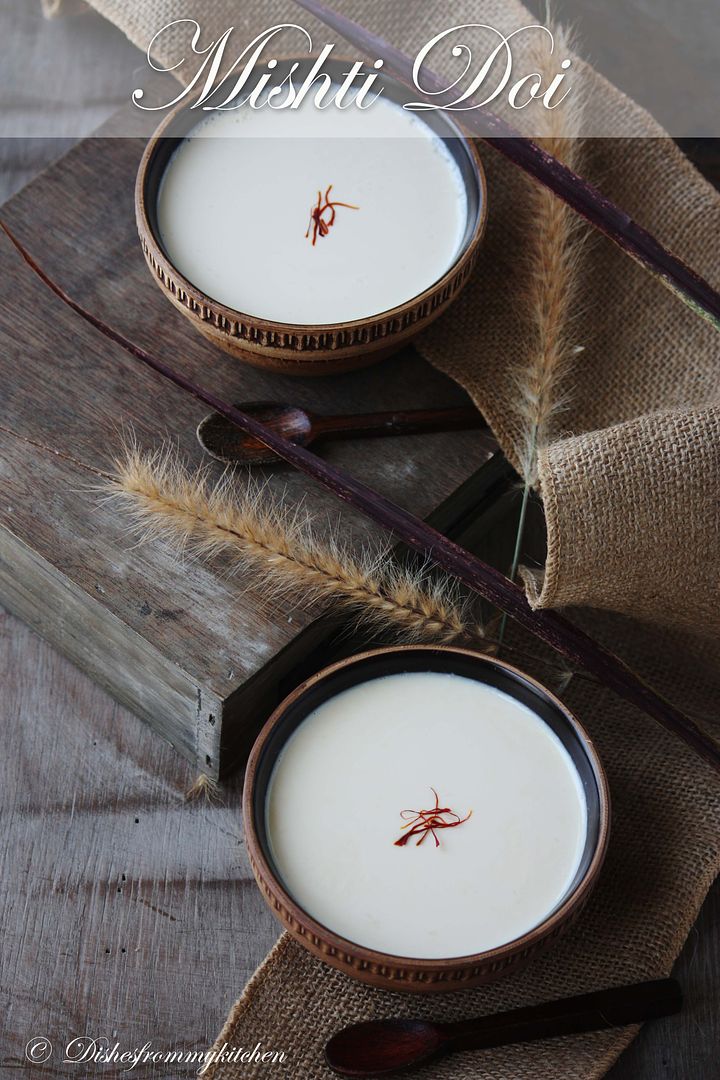
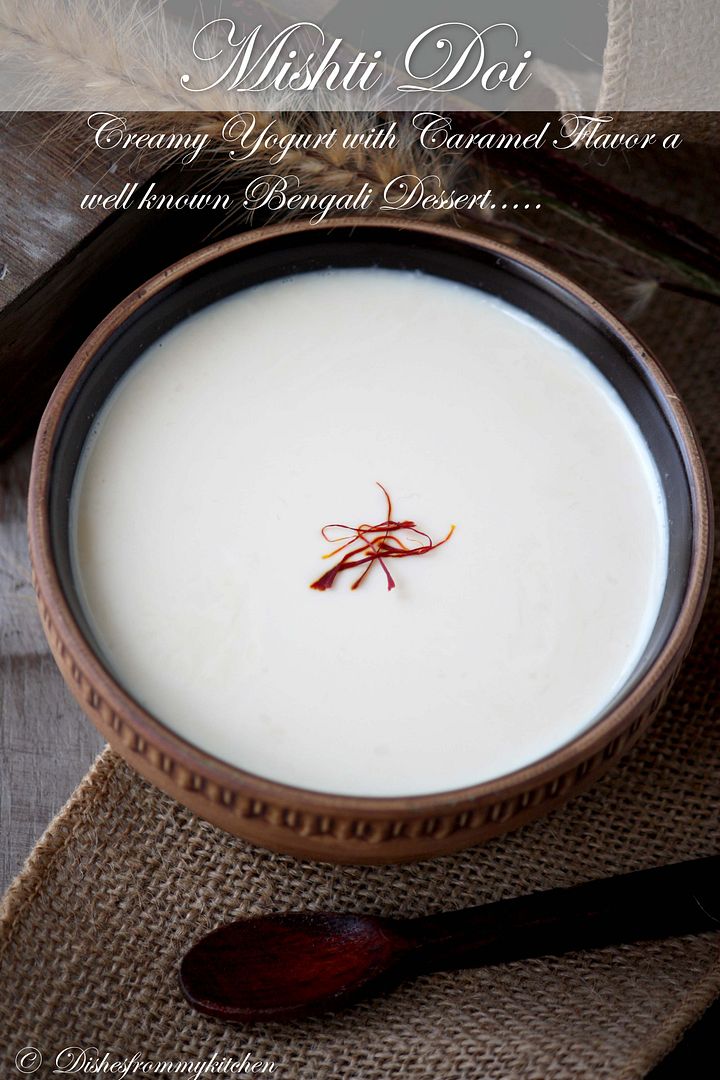
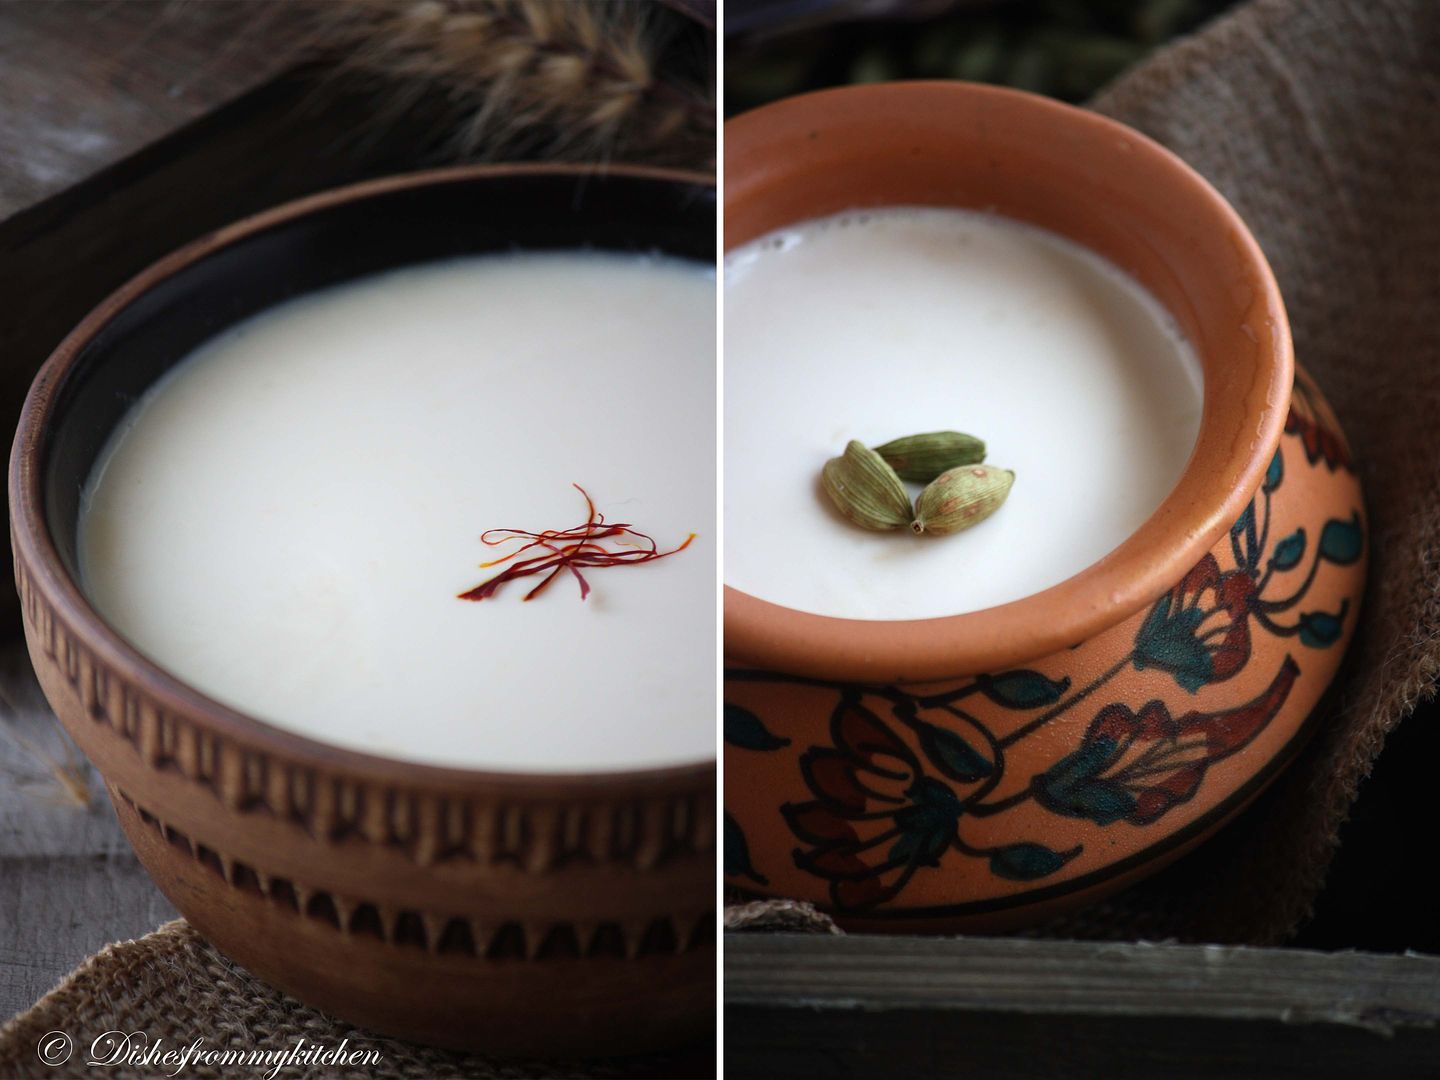
I am here today with very rich dessert but really simple to make. Mishti Doi is a Bengali dessert. Bengal is a part of East India and Bengalis are very famous for their sweet preparation. Mishti Doi is among their well known dessert, I have enjoyed having them from my childhood days. Whenever my dad visits Bangalore he will never miss to have them, similarly whenever he takes us to Bangalore we used to enjoy them in a cute earthen pot in a famous Bengali sweet shop.

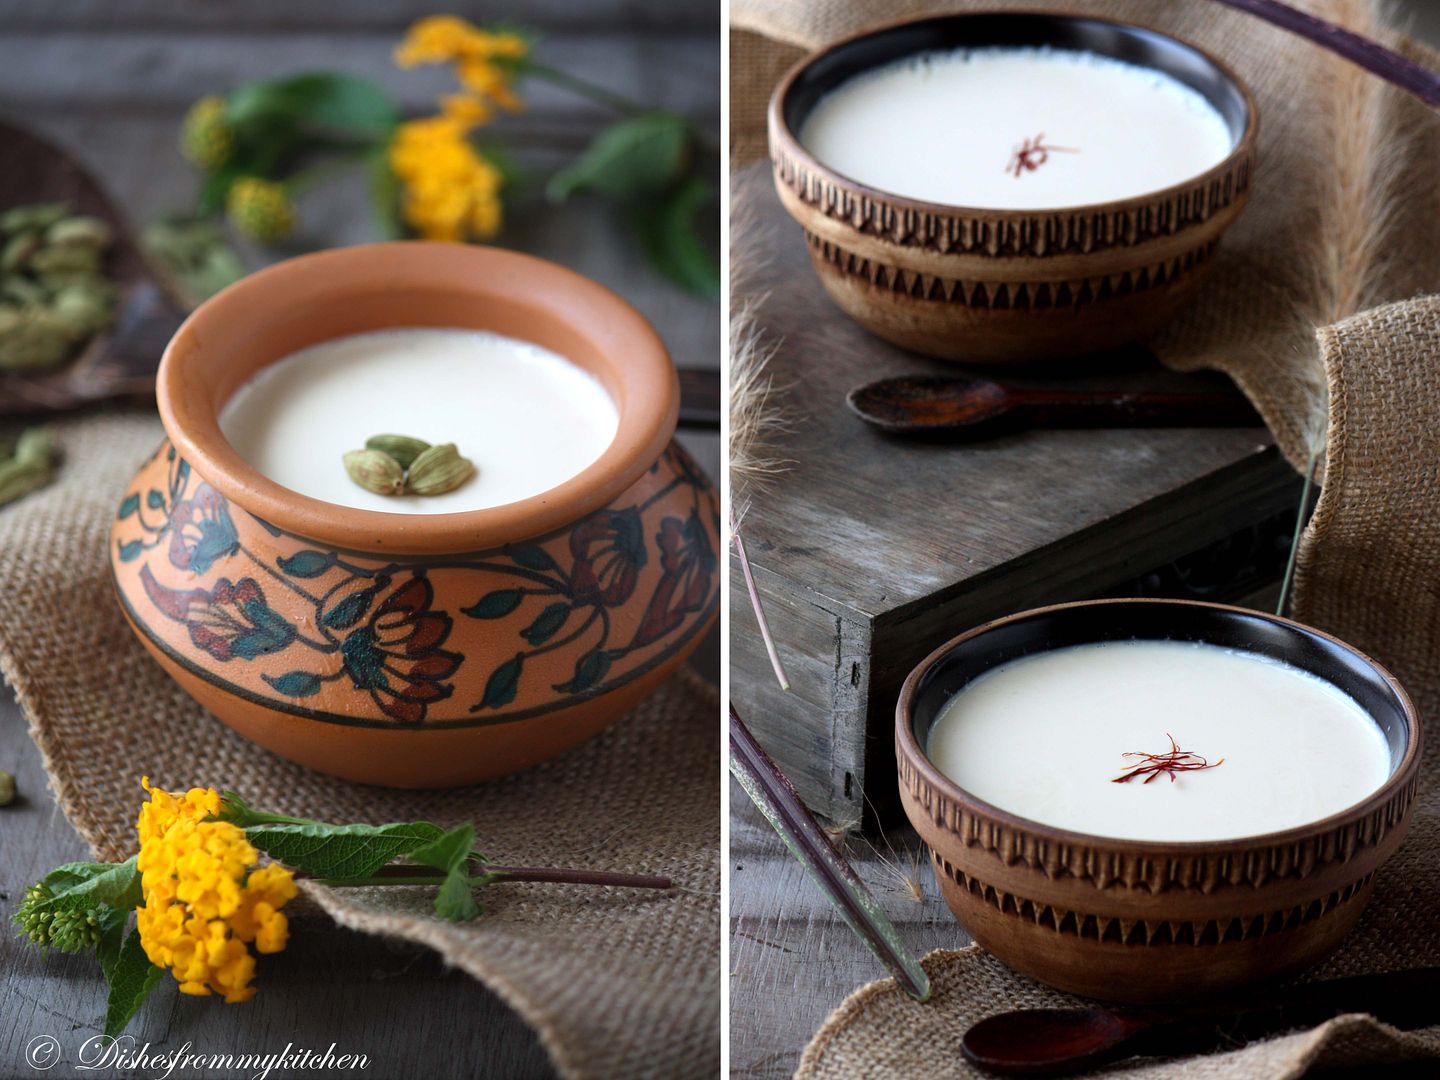
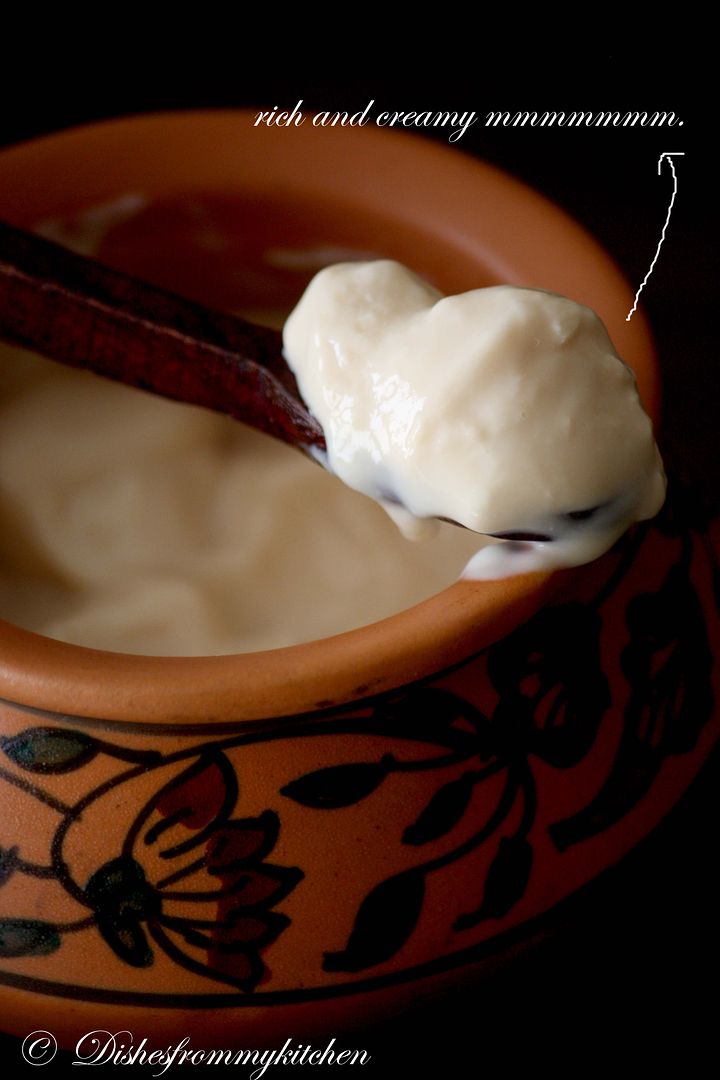
Mishti Doi is a sweet yogurt. It is made with milk and sugar. A part of sugar is caramelized to give lovely caramel flavor. This is a very popular dessert. Earthenware is always used as the container for making this because the gradual evaporation of water through its porous walls not only further thickens the yogurt, but also produces the right temperature for the growth of the culture. Very often the yogurt is delicately seasoned with a hint of elaichi (cardamoms) for fragrance, but this is absolutely optional. I some times make with Saffron, elaichi or just with caramelized sugar. You can prepare the way you like.

I am giving you two ways of preparing this delicious and flavorful yogurt. If you have evaporated milk and condensed milk handy then go for ver I else you can do the ver II.

Mishti Doi Recipe 1

makes about 4 cups

Ingredients
 1 can (12 oz) Evaporated Milk
 1 cup boiled whole milk
1/2 can (7 oz) Condensed Milk 
2 tablespoons Sugar
1 tablespoon Water
1/3 cup Yogurt

Method
Preheat the oven to 175 degree Fahrenheit and switch off the oven.

1. Pour the evaporated milk and whole milk in a vessel.
2. Heat them until it is above body temperature.
3. To this add the condensed milk.
4. In the mean time heat 2 tbsp of sugar in a pan on low heat until the sugar is caramelized to nice golden brown. Turn off heat. Now add 1 tbsp of water and stir with a spoon.
5. Add this caramelized sugar to the milk mixture.
6. When the milk mixture is warm add the yogurt and blend well.
7. Pour them in individual serving containers.
8. Close with lid or foil. Let the yogurt set overnight in the preheated oven (dont turn on the oven!)
9. Then refrigerate set yogurt for at least few hours before serving.

Mishti Doi Recipe 2

If you don’t have the condensed and evaporated milk called for in recipe1, no worries here is another recipe for mishti doi without using condensed milk or evaporated.
Makes about 4 cups

Ingredients
3 cups whole milk 
3/4 cup Sugar
1/3 tablespoon Plain Yogurt, whisked
1 tablespoon Water

Method
1. Heat the milk in the heavy bottom pan. Reserving 1/3 cups of the sugar for caramelizing and add the rest to the hot milk. Let boil and reduce to half the quantity.
2. In the mean time heat reserved 1/3 cup of sugar in a pan on low heat until the sugar is caramelized to nice golden brown. Turn off the heat. Now to that add 1 tbsp of water and stir with a spoon.
3. Add this caramelized sugar to the milk and stir until well blended.
4. Let the milk cool just until it is warm (but not hot). Then add the yogurt and mix well.
5. Pour in serving dishes/ pots and set overnight in a warm place*.
6. Once the yogurt is firm, put it in the refrigerator for few hours before serving.

Notes
- Mishti Doi taste’s best when served in earthen pot but it’s optional. But we love making them in earthen pot it really comes out very creamy its my personal experience.
- *Using the warm oven is optional, if the weather is really hot just put the pot in a cool dry place and let them set overnight. If the weather is very cool then opt for oven method to set the yogurt.
- If you want to flavor the yogurt using cardamom or saffron, just omit the caramelization part of sugar. Instead add less then 1/4 tsp of cardamom powder or Saffron (mixed with hot water) to the milk mixture before the yogurt is added

Dahi ke Aloo (Potato and Yogurt Soup) from Prerna of Indian Simmer

I dont know many other people who are as passionate about Indian cooking as Prerna is. Today, I am delighted to introduce her to you, via her guest post and this delicious recipe for dahi ke aloo (potato and yogurt soup). Her gorgeous blog, Indian Simmer is full of mouthwatering recipes and some of the best photography I’ve seen in the blogosphere. Take it away Prerna..

Like countless others I have always drooled over Sala’s flawless photography and her fabulous recipes. They always make you come back and look for some more, don’t they? So doing a guest post for her and cooking something for her readers was truly an honor. Thanks so much Sala for letting me do this!

I am here today with something very simple and as my husband says something very carby. Ok, raise your hands if you don’t like potatoes … everyone loves potatoes! At least I do, or maybe I like it a little more than I should but I don’t regret it. As a child I was the pickiest eater and potato was the only vegetable I could eat (does that count as a true vegetable?). But now that I am past that phase, potatoes still remain a favorite because you can do so much with them. Especially in Indian cooking when you can make something as royal as a Mughlai Aloo Dum or a simple stir fry, potatoes will always shine. The recipe I am sharing today is one such recipe.

Dahi  is hindi for yogurt and Aloo means potatoes. When potatoes are cooked in tangy and creamy yogurt with some few simple spices they become Dahi Ke Aloo. I call it potato and yogurt soup. My mom serves it with hot and crisp fresh out of the griddle rotis, I serve them with some fresh baguettes. Whatever you call them or whichever way you serve them they still remain classic comfort food and an easy quick fix dish.

Dahi Ke Aloo or Potato & Yogurt Soup Recipe

serves about 4

Ingredients
4 medium size potatoes (boiled, peeled)
2 cups yogurt (room temperature)
2 cups water
1 tablespoon olive oil (extra to drizzle on top of your soup)
1 teaspoon cumin seeds
1 teaspoon red pepper flakes (a little extra if you want to garnish)
1 teaspoon turmeric powder
1 ½ teaspoon coriander powder
Salt to taste

Method
Mash the potatoes. Thoroughly mash one and mash the others to bite size pieces. Set aside.

In a bowl whisk together yogurt and water leaving no lumps.

Heat oil in a medium size pot. Add cumin seeds. Once they start to pop, add turmeric and coriander powder. Mix the spices together and add potatoes immediately. Mix spices well with the potatoes.

Stir in the thinned yogurt. Mix it well together with the potatoes. Wait till the soup comes to a nice rolling boil and then add salt.

You can serve it hot. I like mine lukewarm with some extra virgin olive oil drizzled and some red pepper flakes sprinkled on top.

Cold Spiced Buttermilk Drink with Cucumber

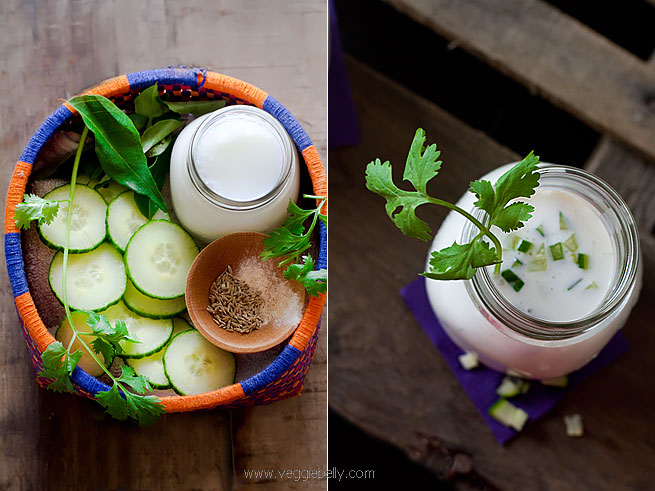
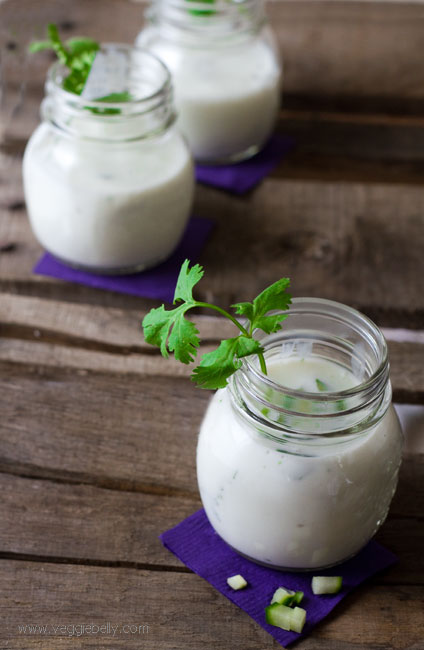
Spiced, salted buttermilk drink, also called mor, sambaram, majjige or chaas, is a popular thirst quencher in India. At its humblest form, this drink can simply be buttermilk served with a pinch of salt. I’ve added a little twist by using some refreshing, crunchy bits of cucumber in this recipe. With all the ginger, cumin and asafoetida in this drink, its also a great digestive.

If you dont have buttermilk, you could use 1 part yogurt and 1 part water. Or just thin out yogurt to your liking.

Similar spiced buttermilk recipes:

Sambharam, majjige or mor recipe on Edible Garden
Spiced buttermilk recipe on Vegetable Platter
Majjiga or salted yogurt drink recipe on Sailu’s Kitchen
Spicy buttermilk on Aayis Recipes

Spiced Buttermilk Drink with Cucumber (chaas, mor, moru, majjige, sambaram) Recipe

serves about 2

2 cups buttermilk (or 1 cup yogurt diluted with 1 cup water)
1/8th teaspoon cumin  seeds
4-6 curry leaves
1 teaspoon sized knob of ginger, peeled
1 small green chilli or according to taste, optional
2 sprigs of cilantro
a pinch of asafoetida
salt

2 tablespoons finely chopped cucumber

Pour the buttermilk into a bowl and set aside. In a mortar and pestle, roughly pound the cumin seeds, curry leaf, ginger, chilli, cilantro and asafoetida. Add the pounded spices to the buttermilk and add salt. Stir well. Cover and refrigerate for at least an hour so the flavors marry. Strain before serving and garnish with chopped cucumbers.

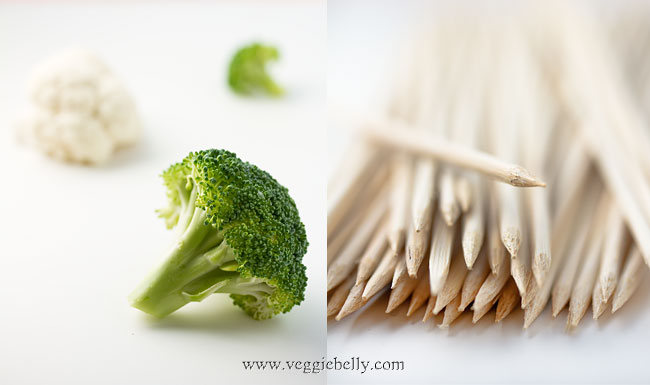
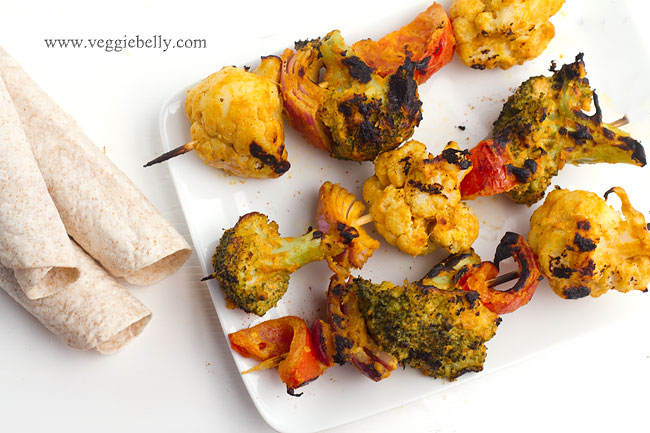
Tandoori Grilled Broccoli and Cauliflower Kebabs


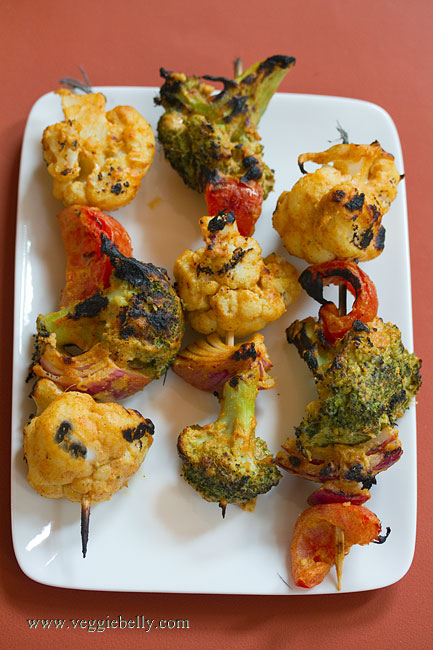
A tandoor is an Indian clay oven. Marinated meat, cottage cheese (paneer) or vegetables are skewered and cooked in the oven. The result is smoky, charred skewers of tandoori yumminess.


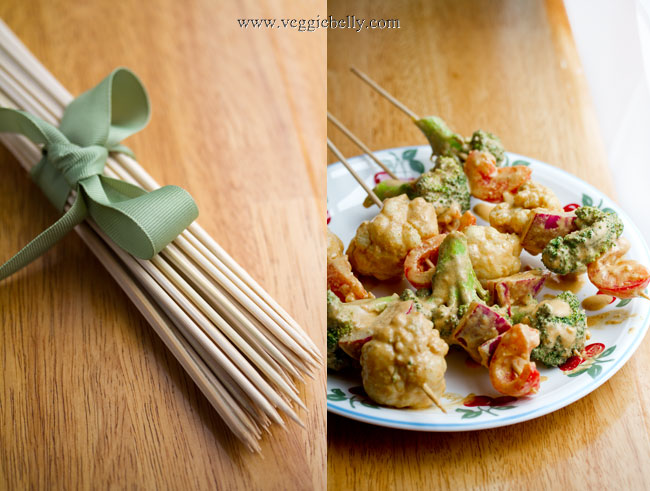
Make sure you soak the skewers before grilling, otherwise they will burn on the grill. If you dont have a grill, you can place the skewers in the oven and broil them till brown and slightly charred. Then flip the skewers and broil the other side.

The tandoori marinade recipe I give you is very versatile, you can use it for paneer, tofu, potatoes, even seitan.

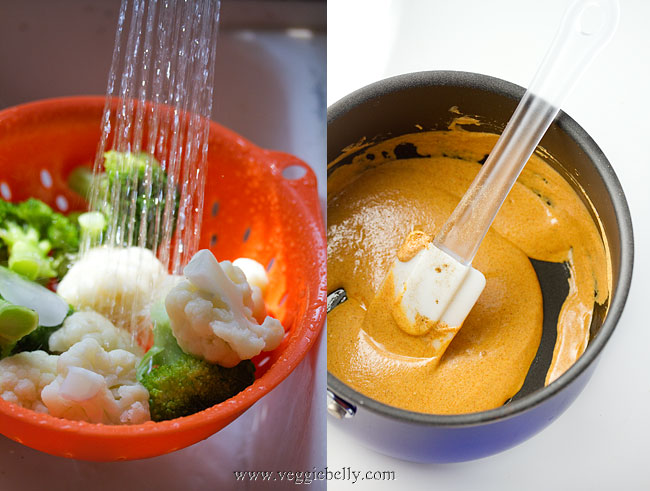
I like to blanch the broccoli and cauliflower before marinating. This reduces grilling time and also makes it easier to thread the skewer into the broccoli and cauliflower.

We usually eat these grilled kebabs with either brown rice, rotis or pita bread and some raita. Here are some recipes on Veggie Belly that will make great accompaniments to these kebabs:

Walnut raisin rice

My grandmother’s multicolored raita

Tamarind Jelly

Tandoori Grilled Broccoli and Cauliflower Kebabs Recipe

serves about 2 as an entree

4 bamboo skewers (about 10 inches long)

1 small head of broccoli
1/2 small head of cauliflower
1 small red onion, cut into 4 wedges
1 large tomato, cut into 4 wedges

for marinade
3 tablespoons chickpea or garbanzo flour (besan)
1/2 cup yogurt
2 tablespoons lemon juice
2 tablespoons vegetable or canola oil
1 tablespoon garlic paste
1 tablespoon ginger paste
1 teaspoon garam masala
1 teaspoon paprika
1/2 teaspoon turmeric powder
1 teaspoon coriander powder
Salt

Soak bamboo skewers in water for atleast 30 minutes, to prevent them from burning on the grill.

Cut the broccoli and cauliflower into large florets. You should have 6 florets (about 2 cups) each of broccoli and cauliflower.

Bring water to boil in a medium pot. Add plenty of salt. Add the broccoli and cauliflower florets. Bring back to a boil. Cook for 20 seconds. Then turn off heat and drain the broccoli and cauliflower. Rinse under very cold water to stop the cooking. If the tap water is not cold enough, dunk the broccoli and cauliflower in a bowl filled with water and ice cubes, then drain. Pat dry with a towel. Make sure the vegetables arent wet, if they are they will dilute the marinade.

Whisk all marinade ingredients together in a bowl. Add the broccoli, cauliflower, tomato and onion pieces to the marinade. Mix gently so the marinade coats all the vegetables. Cover and refridgerate for about 30 minutes.

Heat an out door grill to 400f. Skewer the broccoli, cauliflower, onion and tomato pieces. Place on grill and cook till one side of the vegetables is slightly charred, about 1 minute. Then using tongs, flip the skewers and cook the other side. If you dont have a grill, broil the skewers in the oven.

My Grandmother’s Multicolored Mixed Vegetable Raita


My two grandmother’s could not be more different.  One has a PhD, was a career woman and takes pride in the fact that she ‘cant boil a kettle of water’. She is a connoisseur of fine food, but never enters the kitchen herself. My other grandmother works miracles in the kitchen. She can effortlessly turn out simmering pot after pot of the most delectable sambars, kuzhambus, rasams, poriyals, and kootus. She instilled in me a love for cooking; and not a week goes by when I’m not on the phone with my grandmother asking for recipes, techniques or clarifications. As different as they are from each other, both my grandmothers are remarkable women, and I continue to learn so much from them.

 My grandmother (the non-cooking one!), grandfather,  father and aunt. Late 1950s


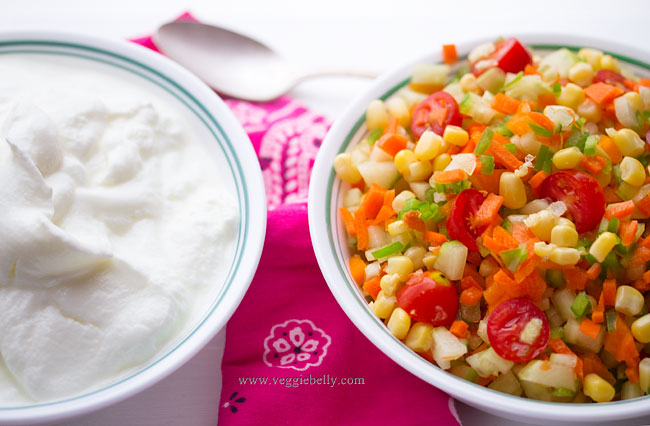
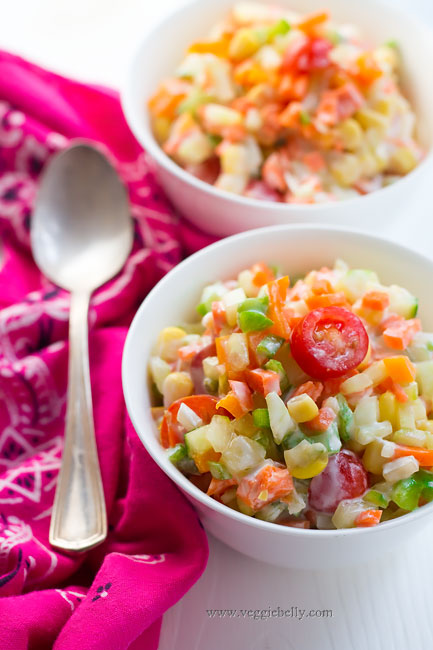
 When its too hot to cook, I always turn to this mixed vegetable raita. Its cool, refershing and there is no cooking involved. I am happy just eating a huge bowl of this for dinner. But this colorful raita will be a great accompaniment to and Indian dinner of rice, roti and curry.

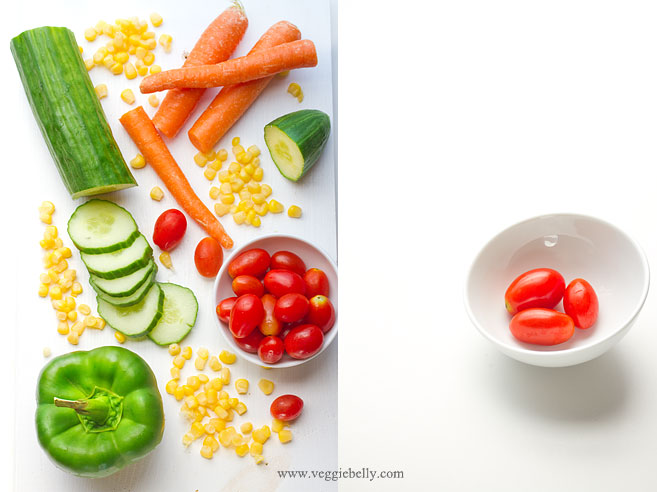
Its easy to remember this recipe – just remember the 6 Cs- cucumber, capsicum, corn, carrot, curd, cherry tomato. Then add pomegranates. Thats it! I didnt use pomegranate seeds in this recipe because I couldnt find any; but I highly recommend you use them!

My grandmother adds salt to the raita only just before serving. If you add salt any sooner, it will draw out the moisture from the vegetables and make your raita watery. And make sure you let the raita sit in the fridge overnight, it tastes much better than eating it right away.

My Grandmother’s Multicolored Mixed Vegetable Raita Recipe

serves about 10 as a side dish

1 large seedless cucumber, the kind with the plastic wrap or 4 small cucumbers (about 3 cups when chopped)
3 medium carrots (about 1 1/2 cups when chopped)
1 small green pepper (about 1/2 cup when chopped)
1 small orange pepper (about 1/2 cup when chopped)
1 cup cherry tomatoes
2 cups drained canned sweet corn
1/2 cup pomegranate seeds (I didnt use, because I couldnt find them)
3 cups yogurt
salt

Peel the cucumber and carrots, and chop into very small pieces. Chop the peppers into tiny pieces as well. Cut each cherry tomato into 2 or 3 pieces.  Mix all ingredients together in a large bowl, except salt. Place the raita in the fridge. Raita tastes better if it sits over night. Add salt just before serving and stir well. Serve chilled.

Mor Kuzhambu or South Indian Yogurt Coconut Curry

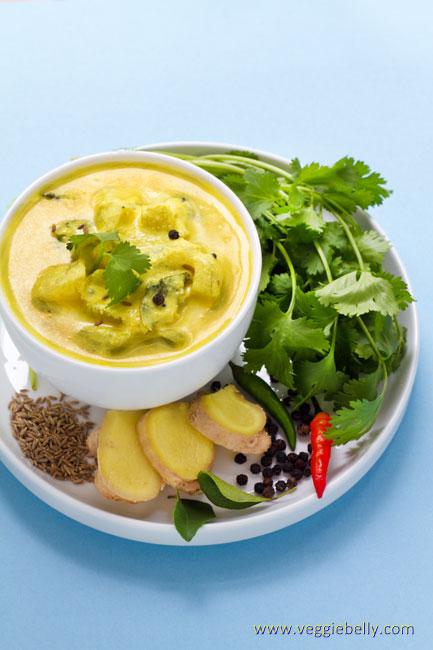
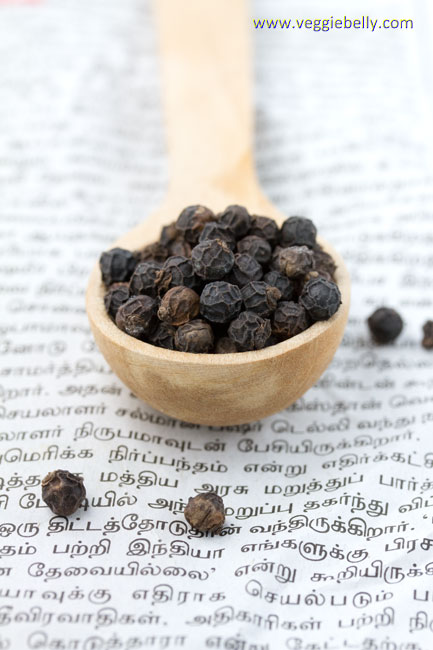
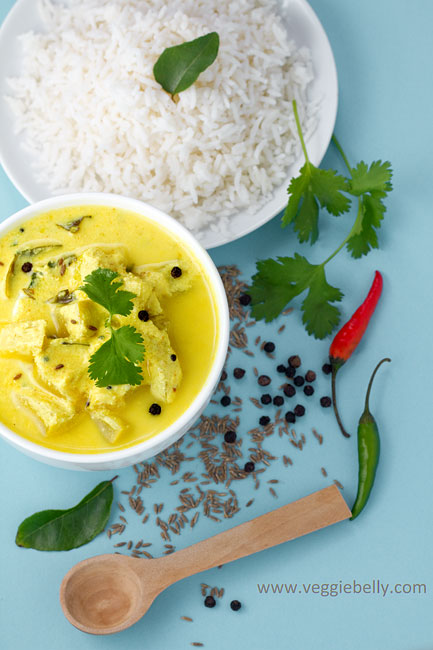
Mor kuzhambu or moor kulambu, however you spell it, is a satisfying south Indian dish made with yogurt and fresh coconut. Mor is buttermilk in Tamil and kulambu is gravy or curry. I use yogurt to make this dish (instead of buttermilk) because it makes the gravy thicker. Peppercorns are wonderful in this dish. You don’t actually eat them, but they impart great flavor. These peppercorns are from my dear friend and fellow food blogger, Nandini’s plantation in India.

Tips

- Use freshly grated coconut or fresh-frozen coconut. Please, none of the dried or dessicated stuff!
- For a lighter version of this dish, use buttermilk instead of yogurt
- Do not let the curry boil once you’ve added the yogurt. Use low heat and stir constantly to prevent boiling
- Remember to only gently re-heat this dish
- Serve mor kuzhambu with steamed rice or curry leaf rice. See this post for my curry leaf rice recipe

A note on what vegetables to use for Mor Kolambu
You can use any vegetable you like, here are some favorites and suggestions*

- Long squash(sorakkai or lauki). Peel the skin, scoop out the seeds and cut into cubes. (This is what I used in this recipe)
- Winter melon(ash gourd, neer poosanikkai or petha). Peel skin, scoop out seeds and membrane and cut into cubes
- Ripe mango. Peel skin, remove pit and cut into cubes
- Corn on the cob. My favorite. Remove husk and cut the whole corn into 1 inch rounds. Will need more water to cook
- Orka(vendakkai or bhindi). Cut into pieces. Make sure you saute okra in oil till it is no longer slimy

Mor Kuzhambu or South Indian Yogurt Coconut Curry Recipe

serves about 6

Grind to a paste
3/4 cup fresh grated coconut
1 tablespoon minced fresh ginger
1/2 tablespoon cumin seeds
2 green chillies (use more or less according to taste)
1/2 cup water

For the gravy
1 tablespoon oil
1 teaspoon black mustard seeds
1 teaspoon whole black peppercorns
a pinch of asafoetida
a few curry leaves
1 teaspoon turmeric powder
2 cups of cubed vegetable (see suggestions in the post above)*
water
salt
a 32 oz tub of plain yogurt
Cilantro for garnishing

Place the ingredients for grinding in a blender and grind into a smooth paste. Set aside.

In a deep pot, heat oil, and add mustard seeds and peppercorns. When the mustard starts to pop and splutter, add the asafoetida, curry leaves, turmeric, and cubed vegetable (see note in the post above for what vegetables to use). Cook on medium heat for about 3 minutes. Then pour about 1 cup water, cover and simmer till the vegetable is cooked; about 7 minutes.

Add the ground coconut mixture, and cook on medium-high for about 2 minutes. Reduce heat to low. Beat the yogurt with a spoon or whisk and add it to the coconut-vegetable mixture. Stir gently and constantly on low heat for about 2 minutes. Do not let the gravy boil once you’ve added the yogurt. Add more water if the kuzhambu is too thick. Garnish with chopped cilantro. Serve with white rice or curry leaf rice.

Sev Puri (Chaat) – Memories of an Indian Summer. My Guest Post for The Kitchn

This is my recent guest article on The Kitchn..

Chaat always brings back memories of carefree childhood weekends spent at my parents’ beach house in India. I’d walk over to the beach in the afternoon when the tide is low enough to pick sea shells. I’d return home with my pail full and stomach empty. A gorgeous bowl of chaat would be waiting for me  – crunchy, sweet, tangy, spicy, filling all at the same time. I’d sit on the verandah eating chaat, listening to the waves crashing near by and watching the kites sail over me.

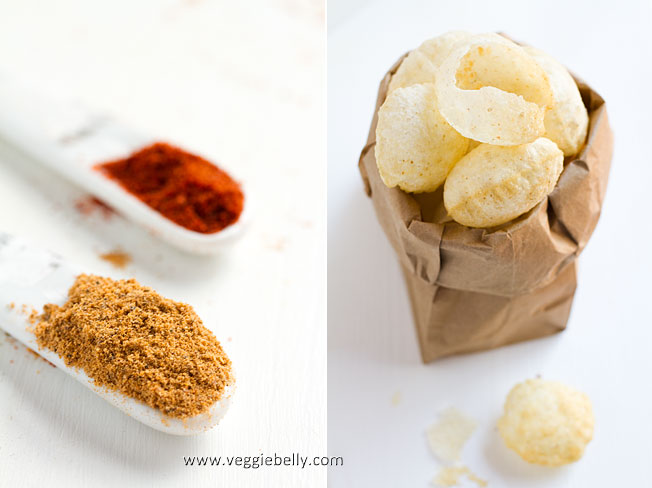
Chaat on weekends still transports me back to those balmy evenings in India. Sev puri is my favorite kind of chaat (‘chaat’ is a general name for this Indian street food; there are several variations). Sev puri are little puffed, fried rounds of dough (puri) stuffed with  crispy noodles (sev), potatoes, onion, yogurt, tamarind chutney and mint chutney. The whole thing is then finished with a sprinkling of amazingly zestful chaat masala – a blend of salt, red chilli, coriander, cinnamon, ginger, anise, pepper, cumin, cardamom, clove, mace, carom and dried mango.

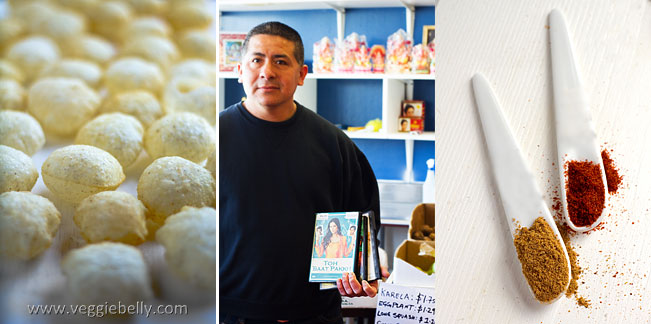
Above: Armando, the man who works at the local Indian store. He is El Salvadorian and his kowledge of Indian ingredients is encyclopedic. He watches all the bollywood movies and gets offended if they dont offer spanish subititles! Gotta love DC/VA!

You will need to make a trip to the Indian store for this recipe. You could attempt to make all the ingredients at home, but that would be time consuming. Why bother when you can buy the same thing at a store!

This is a basic recipe for sev puri; I encourage you to  be creative with it..you are limited only by your imagination. When pomegranates are in season, I like to sprinkle some on top for a colorful, refreshing sweetness. A little chunk of pineapple tucked into the sev puri is divine (toss the pineapple chunks in chaat masala for a delightful sweet-savory flavor).  To make these sev puris vegan, simply leave out the yogurt and use hummus, tahini or cashew butter instead. If you don’t have pani puris, try making this with tortilla chips instead; Scoops! will be perfect for this.

Finally, there is only one way to eat a sev puri – put the whole thing in your mouth! Don’t try to bite into it, just pop the whole thing in your mouth!

Sev Puri (Chaat) Recipe
Serves about 6

1 medium potato, boiled, peeled and diced
½ cup canned chickpeas, drained
3-4 tablespoons finely chopped red onion
40 pani puris* (fried rounds of dough)
½ cup yogurt
½ cup sev* (crispy noodles)
¼ cup date-tamarind chutney*
¼ cup mint chutney*
1 tablespoon Chaat Masala*
1/4 tablespoon red chilli powder or cayenne or paprika
A few sprigs of cilantro

*easily available at any Indian store

Mix together the boiled diced potato, chickpeas, red onion, ¼ teaspoon chaat masala and salt. Set aside. Gently poke a hole on one side of a pani puri. Make it large enough so you can stuff it with the potato mixture. Place some potato mixture inside the pani puri cavity. Top with about ½ tablespoon of yogurt. Sprinkle some sev on top of the yogurt. Then add date-tamarind and mint chutneys. Finish by sprinkling a little chaat masala and chili powder over the top.  Repeat with all pani puris. Serve immediately.

Related Posts with Thumbnails