Almost Instant Noodle Soup in a Jar

With this recipe, you can make your own tasty (almost) instant noodle soup with very little effort. You can prepare this recipe the previous day, and you have the perfect, quick office lunch – just add boiling water! And you can customize and make this recipe your own by adding different vegetables. See my suggestions below.

I first came up with this recipe on my vegetarian cross country road trip. When I was on the road and stopped at places where I couldn’t get a proper vegetarian meal, I used to make my own ‘instant’ noodles by soaking dried mushrooms, fresh greens and rice noodles in boiling water. I posted the recipe on the blog, and to my surprise many of you were making it at home! To me, it was an improvised recipe for the road trip, but when I saw how many of you were actually making it, I decided to come up with this version.
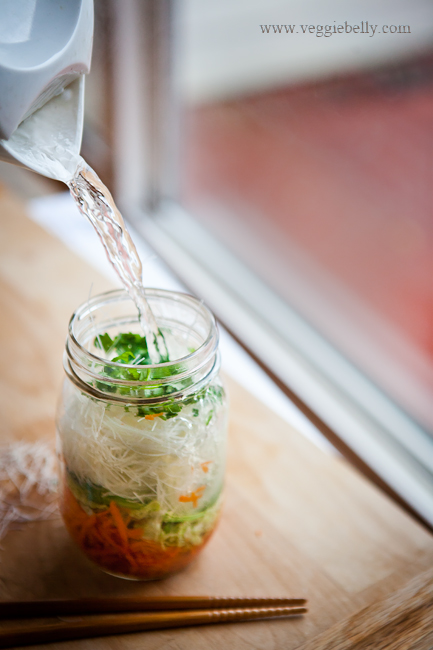
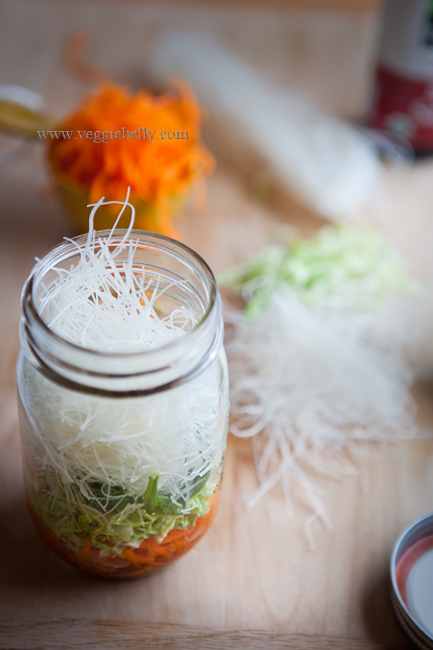
Assemble the seasonings, vegetables and rice noodles in a jar the previous night and keep it in the fridge. Take it to work the next morning, and just add boiling water to the jar – you have lunch in minutes! Mason jars or empty pasta sauce jars work well. And if you use a wide mouth jar, you can eat directly from the jar. And change up the vegetables however you like; just remember that the vegetables should be the easily wilting kind, so they can “cook” on the boiling water soak.

Other ingredients you can use in your almost instant noodle soup
Sweet corn
Baby corn, chopped
Shredded kale
Dried shitake mushrooms, reconstituted
White button mushrooms, sliced
Tofu cubes
Paneer cubes
Seaweed
Bean sprouts
Watercress
Sliced jalapeños
Kimchi
Chopped scallions
Chopped cilantro
Crushed red pepper
Powdered lemongrass
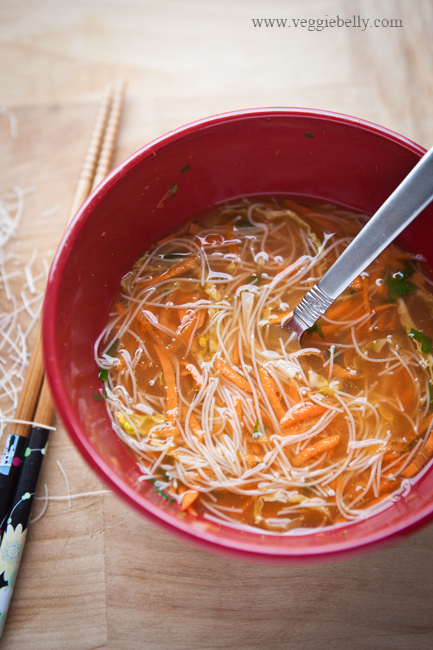
Almost Instant Noodle Soup in a Jar Recipe

serves 1

Ingredients
an approximately 16 oz glass jar, preferably a wide mouth one, with lid
1.5 oz rice noodle sticks
1 tablespoon soy sauce
1/2 teaspoon lime juice
1/4th of a stock cube
1/8th teaspoon garlic powder, optional
1/4th teaspoon grated ginger, optional
½ cup shredded carrot
½ cup shredded napa cabbage
12 leaves of baby spinach

Method
1.  Remove the rice noodles from packaging, and measure out 1.5 oz. Place it in a zip lock bag. Grab the ziplock  bag with your hands and carefully break up the noodles into smaller pieces. Set aside.
2. Wipe the jar clean, and add in all ingredients from soy sauce through to baby spinach, in that order.
3. Then pack the broken up noodles into the jar. Screw on the lid and store in the refrigerator for upto a day.
4. When you are ready to eat, pour boiling water into the jar. Pour in enough water to cover the noodles, about 1 1/2 cups. Replace the lid and let the noodles soak for about 12 minutes or till they have softened. Mix the soup gently so that the stock cube dissolves evenly. Be careful, the jar will be very hot, use a towel or oven mitts to handle the jar.
Note: Adding hot water to a very cold glass jar can cause the glass to crack! If your jar is very cold (or if your fridge is set to very cold), leave the jar out at room temparature for about 15 minutes before adding hot water.
5. Tip your almost instant noodle soup into a bowl and serve. Or eat it directly from the jar!

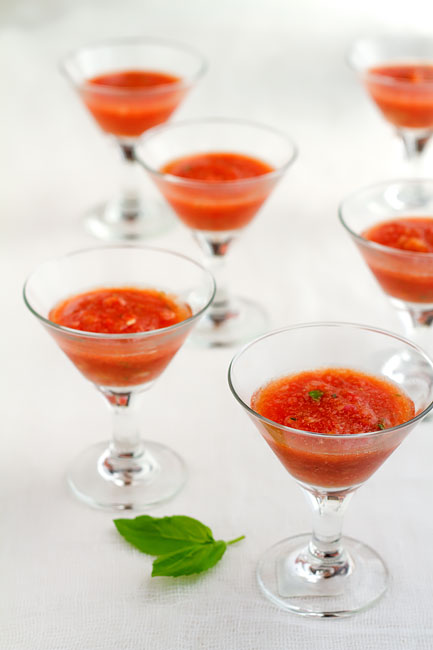
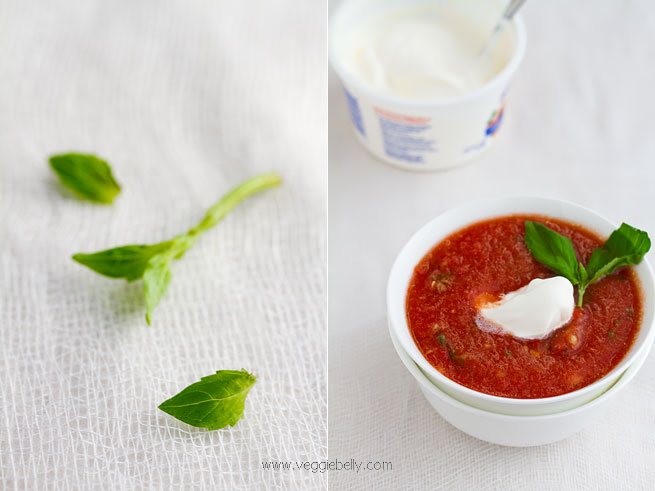
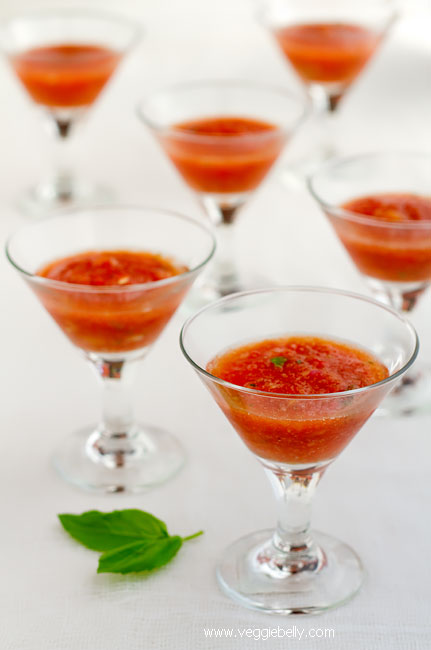
Tomato, Roasted Red Pepper and Olive Gazpacho with Creme Fraiche


This has to be one of those recipes where I say “If I give you the recipe I have to shoot you”. Because its that good. But because I love you all, I will share this recipe with you, without any shooting involved.

Summer may be winding down, but its still super hot. This easy to make, raw, cold, refreshing gazpacho is just what you need to beat the heat. If you like this tomato and roasted red pepper gazpacho recipe, be sure to check out my other no-cook recipes.

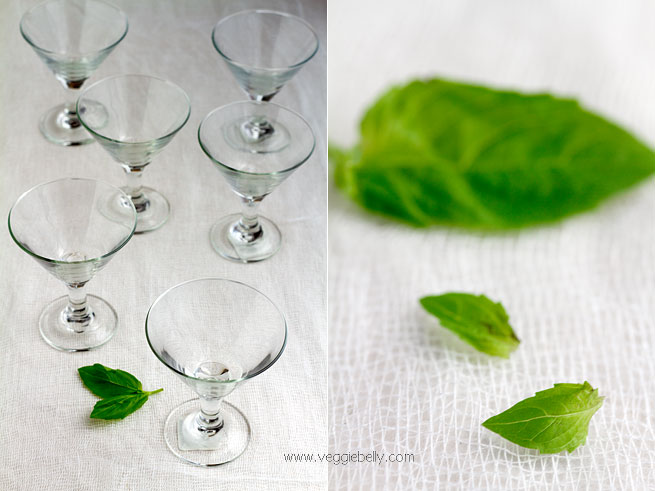
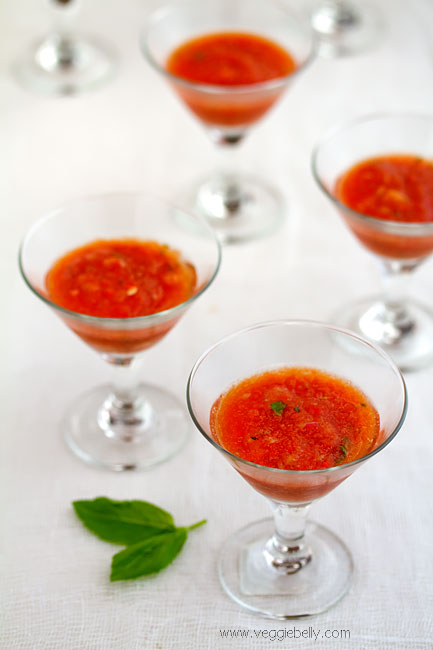
If you are entertaining, serve the gazpacho in mini martini glasses or shooter glasses. For a more casual meal, simple bowls or mugs will be perfect.

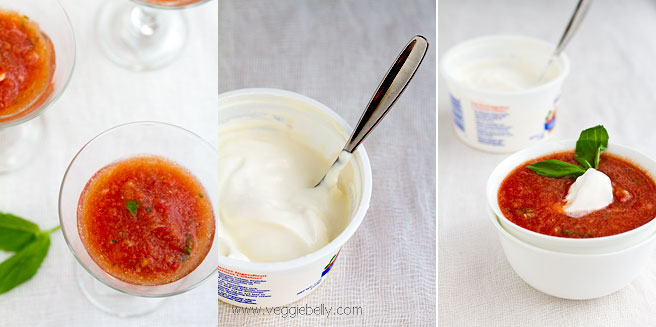
A dollop of creme fraiche adds richness to this gazpacho. Creme fraiche is a thick soured cream from France. It tastes a little like sour cream, but thicker and richer. Substitute creme fraiche with sour cream or thick yogurt. Vegans can use coconut cream to top their Gazpacho..remember Aarti made gazpacho with coconut milk on the next food network star?! 

For some variations, check out Matt Bite’s two Gazpacho recipes. There is a gorgeous gazpacho recipe on Simple Recipes. This almond gazpacho recipe in La Tartine Gourmande looks unique. However you make it, Gazpacho is a quick, easy, no-cook summer soup that you will love. Make a meal out of it or take it along on a picnic!

Tomato, Roasted Red Pepper and Black Olive Gazpacho with Creme Fraiche

inspired by Ina Garten’s gazpacho recipe
serves about 6

2 large ripe tomatoes, roughly chopped
1 small cucumber peeled, seeded, roughly chopped
1 red pepper or store bought roasted red pepper, roughly chopped
2 tablespoons pitted black olives (or green olives)
2 cloves garlic, peeled
6 basil leaves

one 11oz can tomato juice (I used Campbells)
a few drops Tabasco sauce, or to taste, optional
2 tablespoons sherry vinegar or any other type of vinegar or lemon juice
2 tablespoons olive oil
Salt and pepper

for topping

6 tablespoons creme fraiche or sour cream
a few basil leaves cut into strips

Place tomato, cucumber, red pepper, olives, garlic in a blender or food processor. Pulse to a coarse puree. Add basil, tomato juice, tabasco, vinegar, olive oil, salt and pepper. Pulse once or twice till everything is well combine. Cover and refrigerate the gazpacho. Serve chilled, topped with basil and creme fraiche. Gazpacho tastes better the next day!

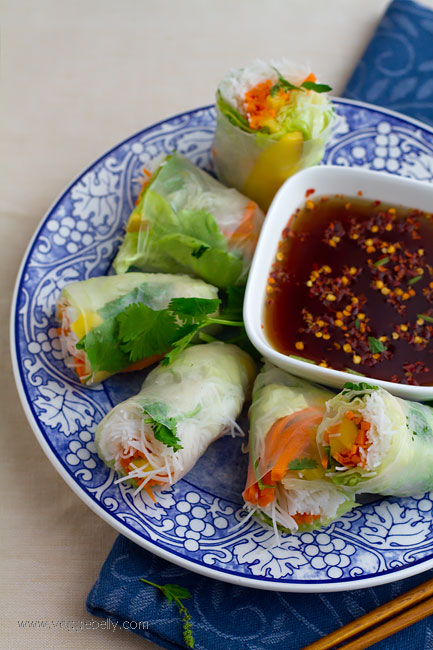
Vietnamese Summer Rolls with Mango and Sweet Chili Dipping Sauce

Another no-cook recipe – these Vietnamese summer rolls or Goi Cuan are bursting with fresh herbs and vegetables. And they will be perfect to take along for a vegetarian picnic.

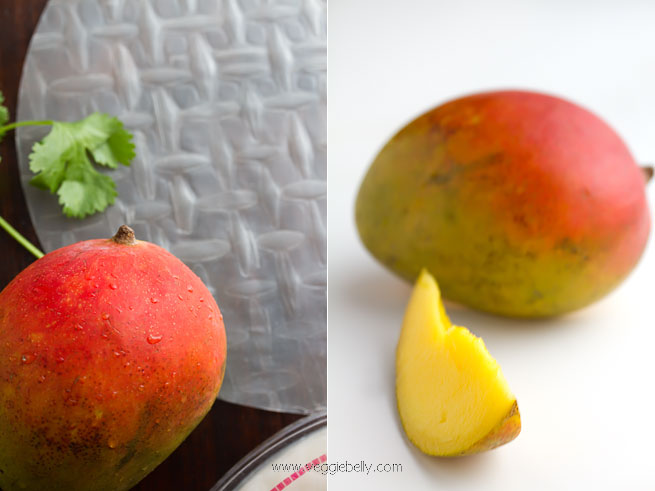
I used mangoes here for some summery, fruity, sweetness. But you can use pretty much any combination of vegetables in this summer roll. I’m not a fan of mangoes, so I made this recipe for our guests (they loved it) and I made myself a roll with carrots and purple cabbage.

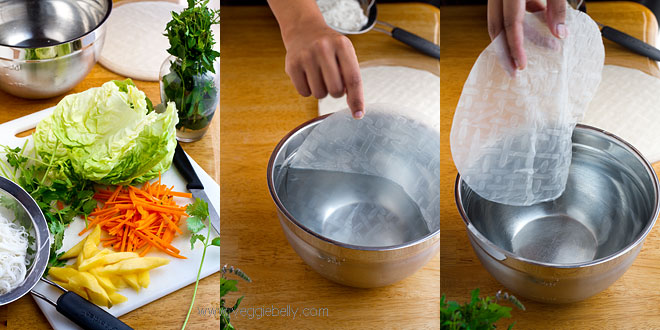
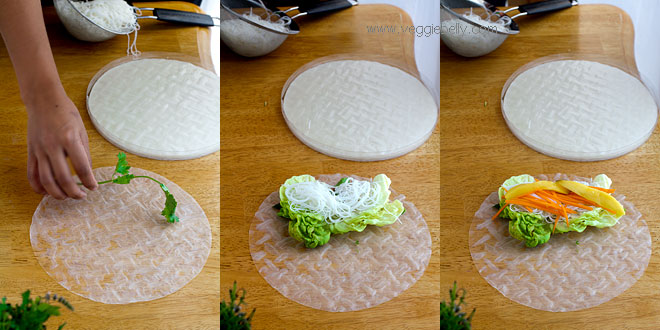
Set up all the ingredients on a clean surface. Dip a rice paper wrapper into a large bowl of water. Make sure all sides get wet. Then remove the rice paper and gently shake it dry. The rice paper will now be pliable. If it isnt, let it stil on the table (not in the water) for a few more seconds.

Place the softened rice paper wrapper on a clean surface. Place filling ingredients on the front (closest to you) 1/3rd of the rice paper wrapper in this order – cilantro, mint, lettuce, noodles, carrot, mango.

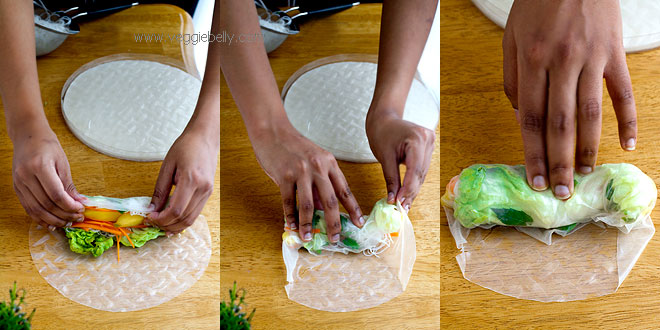
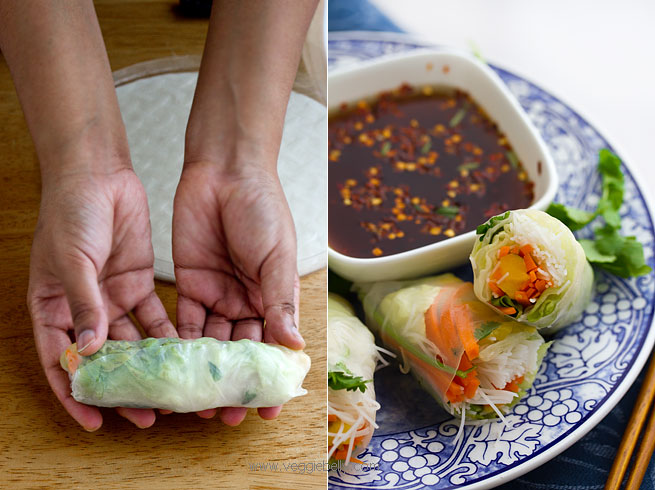
Now fold the front part over the filling and roll. Then fold both the sides in. Roll gently but firmly.

Its that simple! With practice, you will get better and better at rolling. Serve these Vietnamese summer rolls with sweet chili dipping sauce. Regular Vietnamese dipping sauce or Nuoc Cham has fish sauce. See below for my vegetarian Nuoc Cham recipe.

Vietnamese Summer Rolls or Goi Cuan with Mango Recipe

makes 6 rolls

2 oz dried rice sticks or rice vermicelli (available in Asian section of most grocery stores)
6 rice paper wrapper sheets (called ‘bahn trang’ - available in Asian section of grocery store)
a large bowl of water to dip rice paper sheets
6 sprigs cilantro
6 sprigs mint
6 leaves lettuce, rib/stem removed (I like boston lettuce)
1 small ripe mango, peeled and cut into strips (substitute with shredded purple cabbage, cucumbers, savoy cabbage, bean sprouts)
1 carrot, peeled and cut into match sticks

Soak rice sticks in boiling water for about 3 minutes or till soft. Drain well.

Dip the rice paper sheets in water, making sure all sides are wet. Shake off excess water. Place on a clean work surface. Place a sprig each of cilantro and mint in the front 1/3rds of the rice paper sheet. Then place lettuce leaf, a little rice noodles, carrot, and mango slices. Fold and roll the summer roll – see photos above for details on how to roll vietnamese summer roll.

Serve immediately with vegetarian vietnamese dipping sauce (recipe below). To store, put rolls on a plate, cover with a damp paper towel. Then cover plate completely with foil or plastic wrap and refrigerate.

Sweet Chili Dipping Sauce or Vegetarian Nuoc Cham (Vietnamese dipping sauce) Recipe 

makes little less than 1 cup

4 tablespoons light soy sauce
4 tablespoons rice vinegar
2 tablespoons sugar
2 tablespoons warm water
1 garlic clove peeled and crushed
Red pepper flakes or chopped fresh chili to taste

Whisk everything together till the sugar dissolves.

Raspberry Buttermilk Sherbet


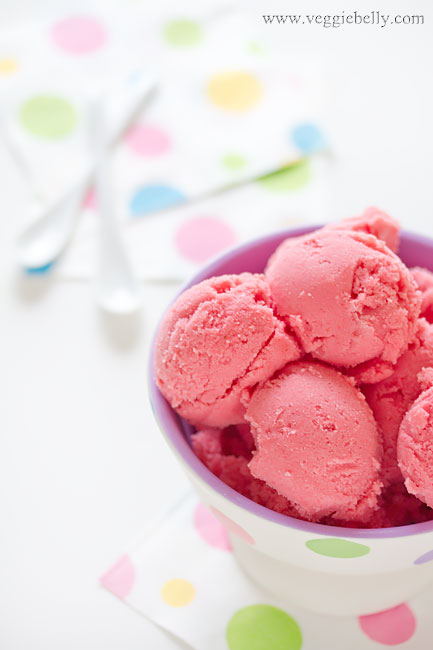
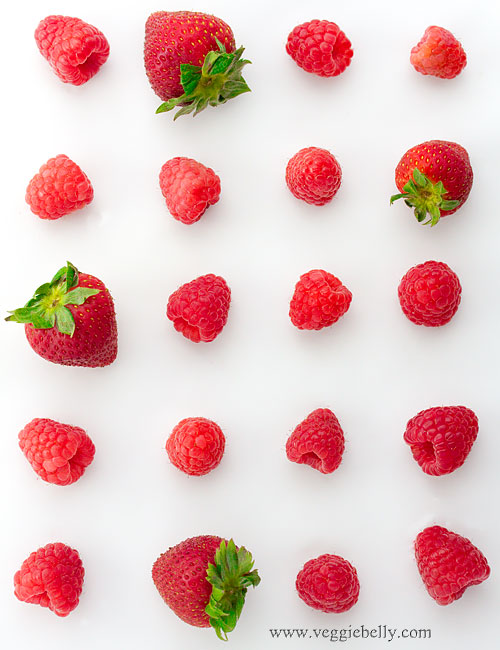
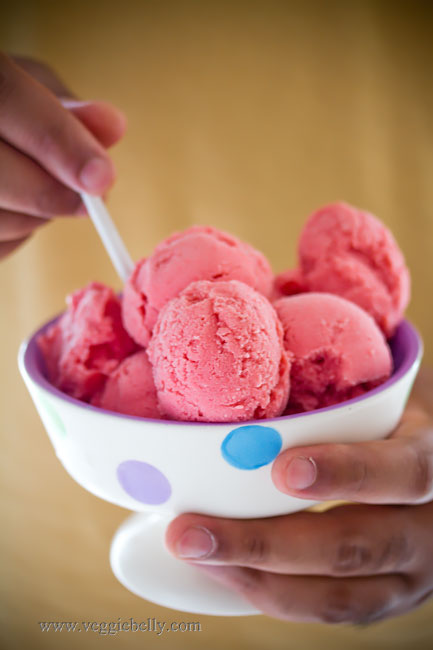
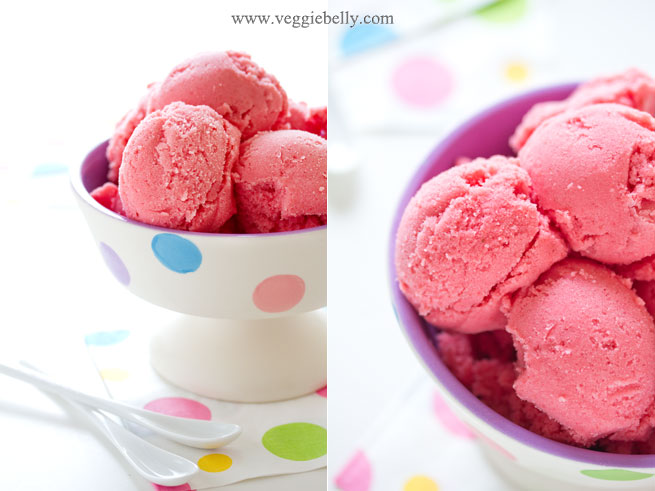
I’m in possession of a brand new Cuisinart ice cream maker. And this fruity, tart, not too heavy and gorgeous pink sherbet is exactly the sort of frozen treat I wanted to make to  inaugurate my ice cream maker. This food network recipe is super simple and easy – only 5 ingredients!

The original sherbet recipe uses some cracked black pepperon top of the sherbet. I left this out.

This is the ice cream maker I bought:

For the price, its fantastic

Difference between sherbet and sorbet

- Sorbets never have dairy. They only contain fruit puree, sugar, water and flavorings.

- Sherbets always contain some dairy. Besides the fruit puree and sugar, sherbets will have cream, milk or buttermilk in this case.

In the UK however, a sherbet is a fizzy drink! Its the same in India where I come from; some cold drinks are called ‘sarbath’.

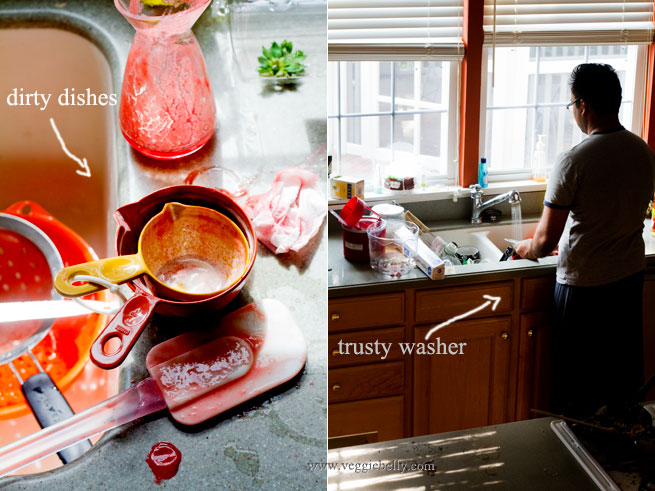
There is always a pile of dishes to do in my kitchen, thanks to my food blogging tendencies. But my trusty human dish washer always helps…and then he is rewarded with sherbet ;)

Notes

- Pretty much any fruit will work in this recipe – peaches, mangoes, all berries

- Make sure the sugar is superfine. If not, it will not dissolved in the liquids properly. You could put granulated sugar in a food processor to make it finer

To make frozen treats like ice cream, sorbet and sherbet without an ice cream maker:

Place the ice cream mixture in an airtight container. Freeze till it has become solid. Then remove from freezer, break it up, and put the icecream in a blender. Blend till smooth. Return ice cream to the freezer. Once it has frozen again, repeat this process once more (blend again and freeze again).

Raspberry Buttermilk Sherbet Recipe

Adapted from this Food network recipe
serves 4-6

6 cups raspberries
1/4 cup 100% grape or apple juice
1 cup superfine sugar
1 1/2 cups whole buttermilk
1/4 cup heavy cream
pinch of salt

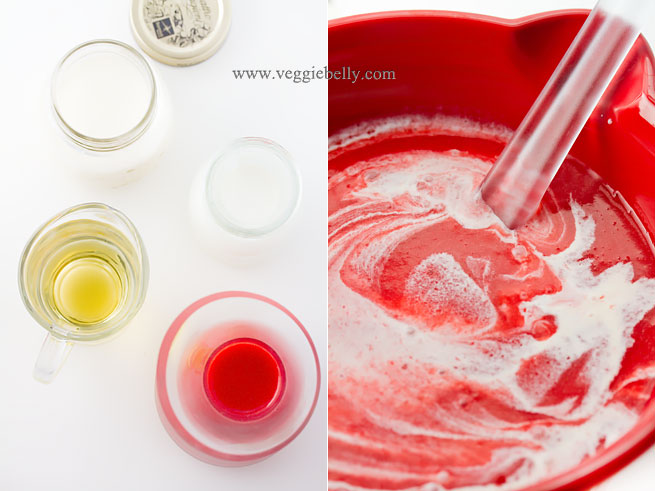
In a blender, puree the raspberries, fruit juice and sugar. Pass through a strainer (with a bowl below), reserving the liquid and discarding the solids that remain in the strainer.  Stir in buttermilk, cream and salt.  Cover and refrigerate for about an hour.

Then process the mixture in an ice cream maker according manufacturers instructions. Then scoop the churned sherbet into an airtight container and freeze for at least 2 hours before serving. Thaw the sherbet for about 5 minutes before serving.

See notes above on how to make this recipe without an ice cream maker.

My Grandmother’s Multicolored Mixed Vegetable Raita


My two grandmother’s could not be more different.  One has a PhD, was a career woman and takes pride in the fact that she ‘cant boil a kettle of water’. She is a connoisseur of fine food, but never enters the kitchen herself. My other grandmother works miracles in the kitchen. She can effortlessly turn out simmering pot after pot of the most delectable sambars, kuzhambus, rasams, poriyals, and kootus. She instilled in me a love for cooking; and not a week goes by when I’m not on the phone with my grandmother asking for recipes, techniques or clarifications. As different as they are from each other, both my grandmothers are remarkable women, and I continue to learn so much from them.

 My grandmother (the non-cooking one!), grandfather,  father and aunt. Late 1950s
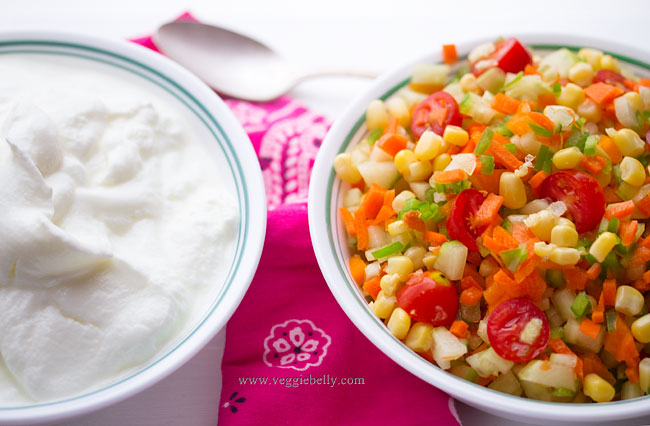
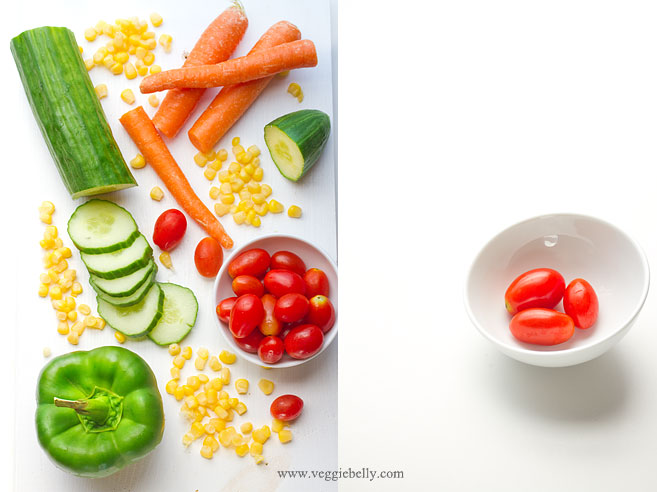


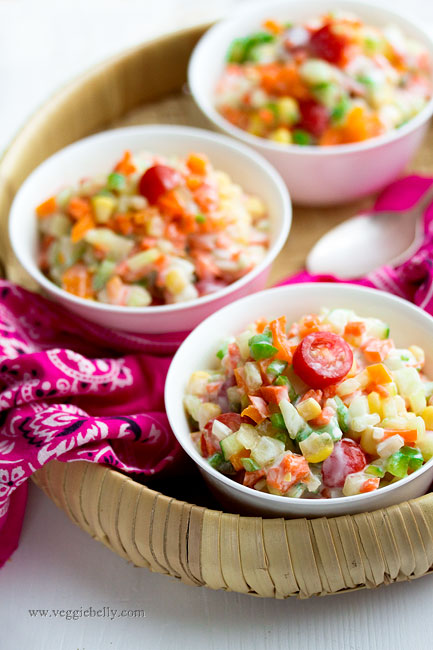
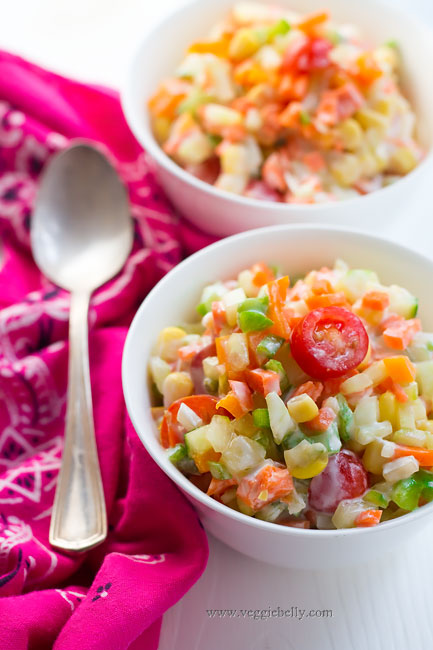
 When its too hot to cook, I always turn to this mixed vegetable raita. Its cool, refershing and there is no cooking involved. I am happy just eating a huge bowl of this for dinner. But this colorful raita will be a great accompaniment to and Indian dinner of rice, roti and curry.

Its easy to remember this recipe – just remember the 6 Cs- cucumber, capsicum, corn, carrot, curd, cherry tomato. Then add pomegranates. Thats it! I didnt use pomegranate seeds in this recipe because I couldnt find any; but I highly recommend you use them!

My grandmother adds salt to the raita only just before serving. If you add salt any sooner, it will draw out the moisture from the vegetables and make your raita watery. And make sure you let the raita sit in the fridge overnight, it tastes much better than eating it right away.

My Grandmother’s Multicolored Mixed Vegetable Raita Recipe

serves about 10 as a side dish

1 large seedless cucumber, the kind with the plastic wrap or 4 small cucumbers (about 3 cups when chopped)
3 medium carrots (about 1 1/2 cups when chopped)
1 small green pepper (about 1/2 cup when chopped)
1 small orange pepper (about 1/2 cup when chopped)
1 cup cherry tomatoes
2 cups drained canned sweet corn
1/2 cup pomegranate seeds (I didnt use, because I couldnt find them)
3 cups yogurt
salt

Peel the cucumber and carrots, and chop into very small pieces. Chop the peppers into tiny pieces as well. Cut each cherry tomato into 2 or 3 pieces.  Mix all ingredients together in a large bowl, except salt. Place the raita in the fridge. Raita tastes better if it sits over night. Add salt just before serving and stir well. Serve chilled.

Shaved Carrot Salad with Pecans and Tangy Honey Vinaigrette

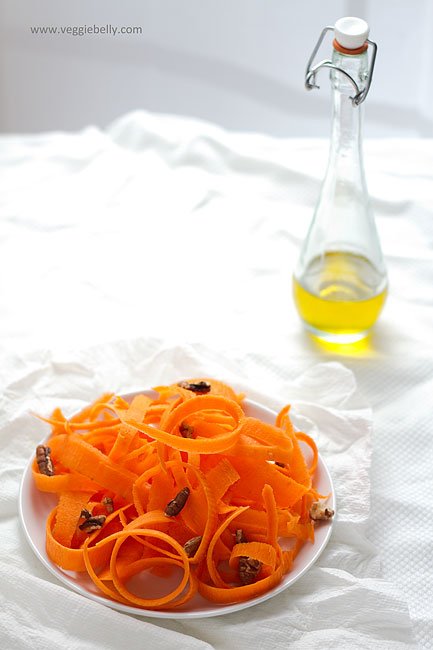
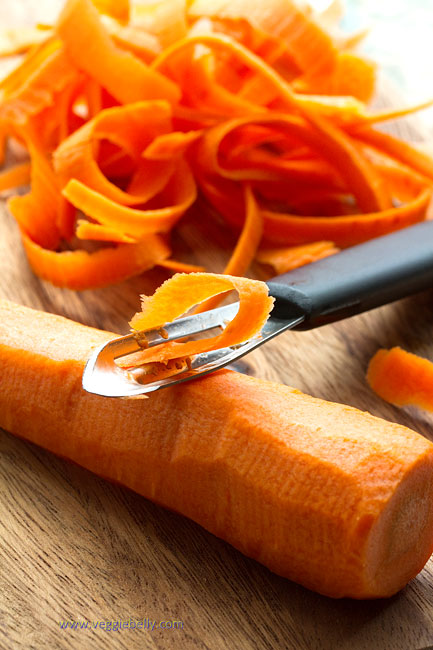
Here’s an easy, simple carrot salad that will be a great side dish. I love packing this for a summer picnic. Sweet, tangy, crisp yumminess! I like shaving the carrots into ribbons or strips using a vegetable peeler. If you wish, you could grate or julienne them.

Tips

- For extra crisp carrots, place the shaved carrots in a bowl of water with ice cubes.  Pat dry before dressing
- When you measure the ingredients for the vinaigrette, measure out the olive oil first. Then use the same measuring cup or spoon to measure the honey. They honey will slip out of the olive oil coated measuring spoon easily
- The vinaigrette will keep for a few weeks in the fridge, so its a great make ahead item!
- I used white wine vinegar for the salad dressing. Apple cider vinegar or balsamic vinegar will also work well. For a citrus touch, try adding lemon or orange juice and zest 

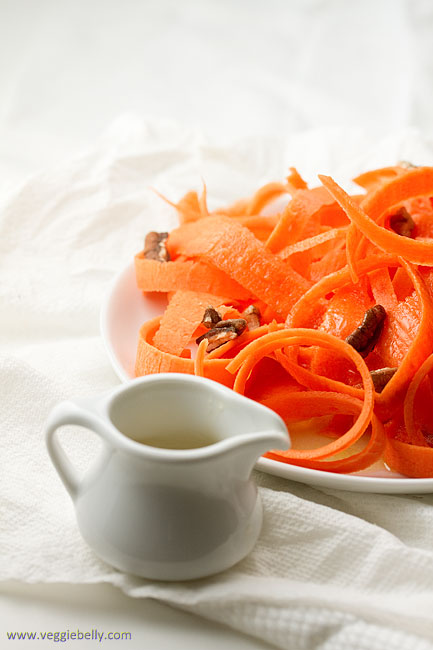
I love serving salad dressing in this mini creamer jug I brought back from my trip to Thailand.

Shaved Carrot Salad with Pecans and Honey Vinaigrette Recipe

serves about 2

3 medium carrots
3 tablespoons chopped pecans
Honey vinaigrette, recipe below

Peel the carrots. Using a vegetable peeler, shave the carrots into long ribbons (see photos above). Lightly toast pecans in a skillet. Sprinkle pecans over shaved carrots. Serve chilled, with honey vinaigrette (recipe below).

Honey Vinaigrette Recipe
Whisk together 2 tablespoons each of olive oil, honey, and white wine vinegar. Add salt to taste.

Temples, Monks and a Thai Raw Mango Salad with Tofu. Thailand Part 2.

I love Thailand for its sensuous food, elegant people and spectacular sights. Out of the 30 or so countries I’ve visited, Thailand is easily on the very top of my favorites list. Here, I share with you some pictures of Bangkok – a city that is a beautiful mélange of ancient culture and modern lifestyle. You will find serene Buddhist temples along the Chao Phraya river. And a hop away, you will find racy go go bars in Nana plaza. It is incredible that these cultural extremes co-exist. With its night life, beautiful Wats (temples) and amazing food, Bangkok is a truly exciting place. If only Bangkok was cooler, Id move there in a heartbeat!

Above: Wat Pho in Bangkok;  the gigantic reclining Buddha with mother of pearl in His feet

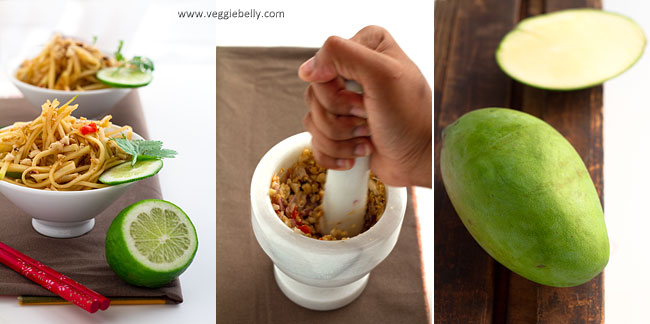
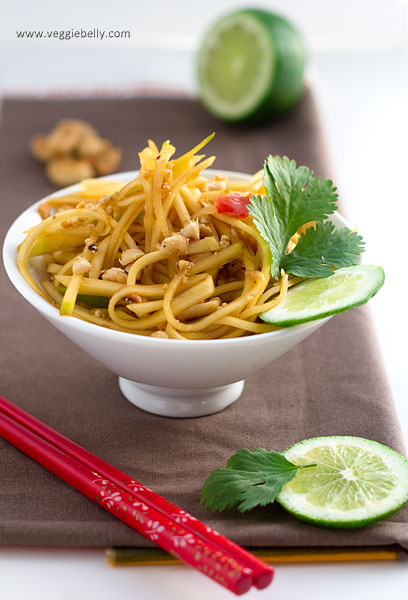
The most memorable part of my trip to Thailand is of course, the food. Thai cooking is seductive; and I cant think of a better recipe to showcase the beauty of Thai food like this one. Salty soy sauce, rich, sweet brown sugar, fresh zesty lime, crunchy, nutty peanuts, hot chillies, and crisp, sour mangoes. Every flavor in the world is packed into this mango salad.

Traditional Thai mango salad doesn’t have tofu in it. I added tofu to make this salad more filling.

Some tips:

Make this salad a day ahead and store it in the fridge. The flavors get so much better the next day
Only use raw, green mangoes (not the ripe yellow ones)
Leave out the chili if you prefer a milder salad
Add strips of pan-fried tofu to make this salad heartier
If you dont have a mortar and pestle, use a food processor to crush the peanuts

Thai Raw (Green) Mango Salad with Tofu Recipe

serves about 4

2 large green, raw mangoes
3/4 cup roasted peanuts
2 shallots, peeled
1 thai red chili (use more or omit according to taste)
3 tablespoons soy sauce
3 tablespoons dark brown sugar
1 tablespoon lime juice
a few sprigs cilantro
6 oz firm tofu, drained (optional)
Salt

Peel the mangoes and cut around the pit. Discard the pit. Grate the peeled mango using a box grater. Alternatively, slice the peeled mango into very thin strips.

Place the roasted peanuts, peeled shallots and red chili in a mortar and pound to a rough paste. Add this crushed peanut mixture to the shredded mango.

In a small bowl, whisk together the soy sauce, brown sugar and lime juice. Add this to the shredded mango and peanuts. Toss well. Taste and add salt if needed. Garnish with cilantro. Serve chilled.

To add tofu to this salad: Drain tofu and pat dry. Cut it into thin strips. Pan fry the tofu strips in a little oil till golden. Toss the tofu with the mango salad.

Sev Puri (Chaat) – Memories of an Indian Summer. My Guest Post for The Kitchn

This is my recent guest article on The Kitchn..

Chaat always brings back memories of carefree childhood weekends spent at my parents’ beach house in India. I’d walk over to the beach in the afternoon when the tide is low enough to pick sea shells. I’d return home with my pail full and stomach empty. A gorgeous bowl of chaat would be waiting for me  – crunchy, sweet, tangy, spicy, filling all at the same time. I’d sit on the verandah eating chaat, listening to the waves crashing near by and watching the kites sail over me.

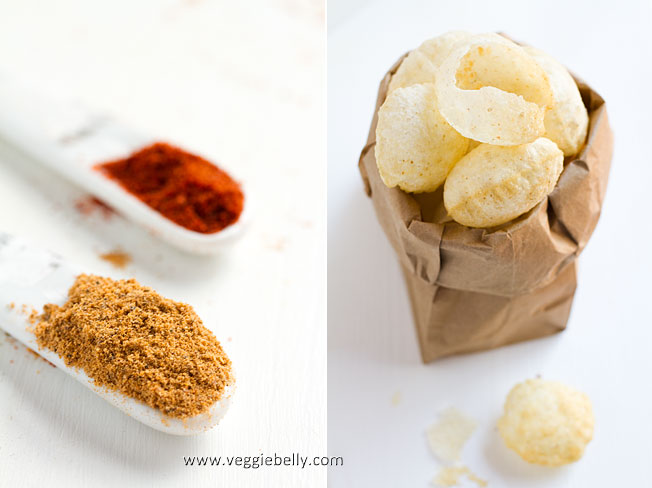
Chaat on weekends still transports me back to those balmy evenings in India. Sev puri is my favorite kind of chaat (‘chaat’ is a general name for this Indian street food; there are several variations). Sev puri are little puffed, fried rounds of dough (puri) stuffed with  crispy noodles (sev), potatoes, onion, yogurt, tamarind chutney and mint chutney. The whole thing is then finished with a sprinkling of amazingly zestful chaat masala – a blend of salt, red chilli, coriander, cinnamon, ginger, anise, pepper, cumin, cardamom, clove, mace, carom and dried mango.

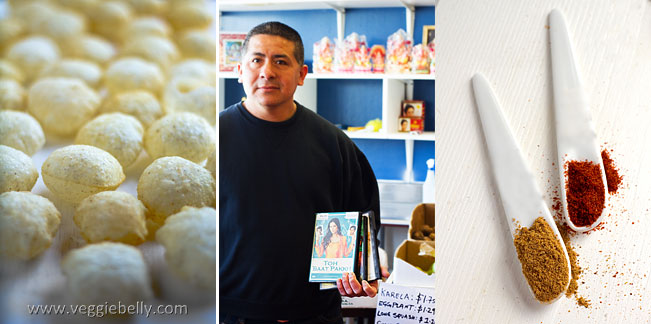
Above: Armando, the man who works at the local Indian store. He is El Salvadorian and his kowledge of Indian ingredients is encyclopedic. He watches all the bollywood movies and gets offended if they dont offer spanish subititles! Gotta love DC/VA!

You will need to make a trip to the Indian store for this recipe. You could attempt to make all the ingredients at home, but that would be time consuming. Why bother when you can buy the same thing at a store!

This is a basic recipe for sev puri; I encourage you to  be creative with it..you are limited only by your imagination. When pomegranates are in season, I like to sprinkle some on top for a colorful, refreshing sweetness. A little chunk of pineapple tucked into the sev puri is divine (toss the pineapple chunks in chaat masala for a delightful sweet-savory flavor).  To make these sev puris vegan, simply leave out the yogurt and use hummus, tahini or cashew butter instead. If you don’t have pani puris, try making this with tortilla chips instead; Scoops! will be perfect for this.

Finally, there is only one way to eat a sev puri – put the whole thing in your mouth! Don’t try to bite into it, just pop the whole thing in your mouth!

Sev Puri (Chaat) Recipe
Serves about 6

1 medium potato, boiled, peeled and diced
½ cup canned chickpeas, drained
3-4 tablespoons finely chopped red onion
40 pani puris* (fried rounds of dough)
½ cup yogurt
½ cup sev* (crispy noodles)
¼ cup date-tamarind chutney*
¼ cup mint chutney*
1 tablespoon Chaat Masala*
1/4 tablespoon red chilli powder or cayenne or paprika
A few sprigs of cilantro

*easily available at any Indian store

Mix together the boiled diced potato, chickpeas, red onion, ¼ teaspoon chaat masala and salt. Set aside. Gently poke a hole on one side of a pani puri. Make it large enough so you can stuff it with the potato mixture. Place some potato mixture inside the pani puri cavity. Top with about ½ tablespoon of yogurt. Sprinkle some sev on top of the yogurt. Then add date-tamarind and mint chutneys. Finish by sprinkling a little chaat masala and chili powder over the top.  Repeat with all pani puris. Serve immediately.

Related Posts with Thumbnails